Embed App Builder Web View in a React Native App
This guide outlines the process of embedding the App Builder Web View in a React Native app.
BUILDING
STEP 1: Download and Extract App Builder Source Code
Begin by downloading and extracting the app builder source code. For detailed instructions, refer here
Navigate to your project folder and run the app-builder-cli using the following command:
npm i && npm run start
STEP 2: Select Build Option
Navigate using the arrow keys and select the build option using the enter key
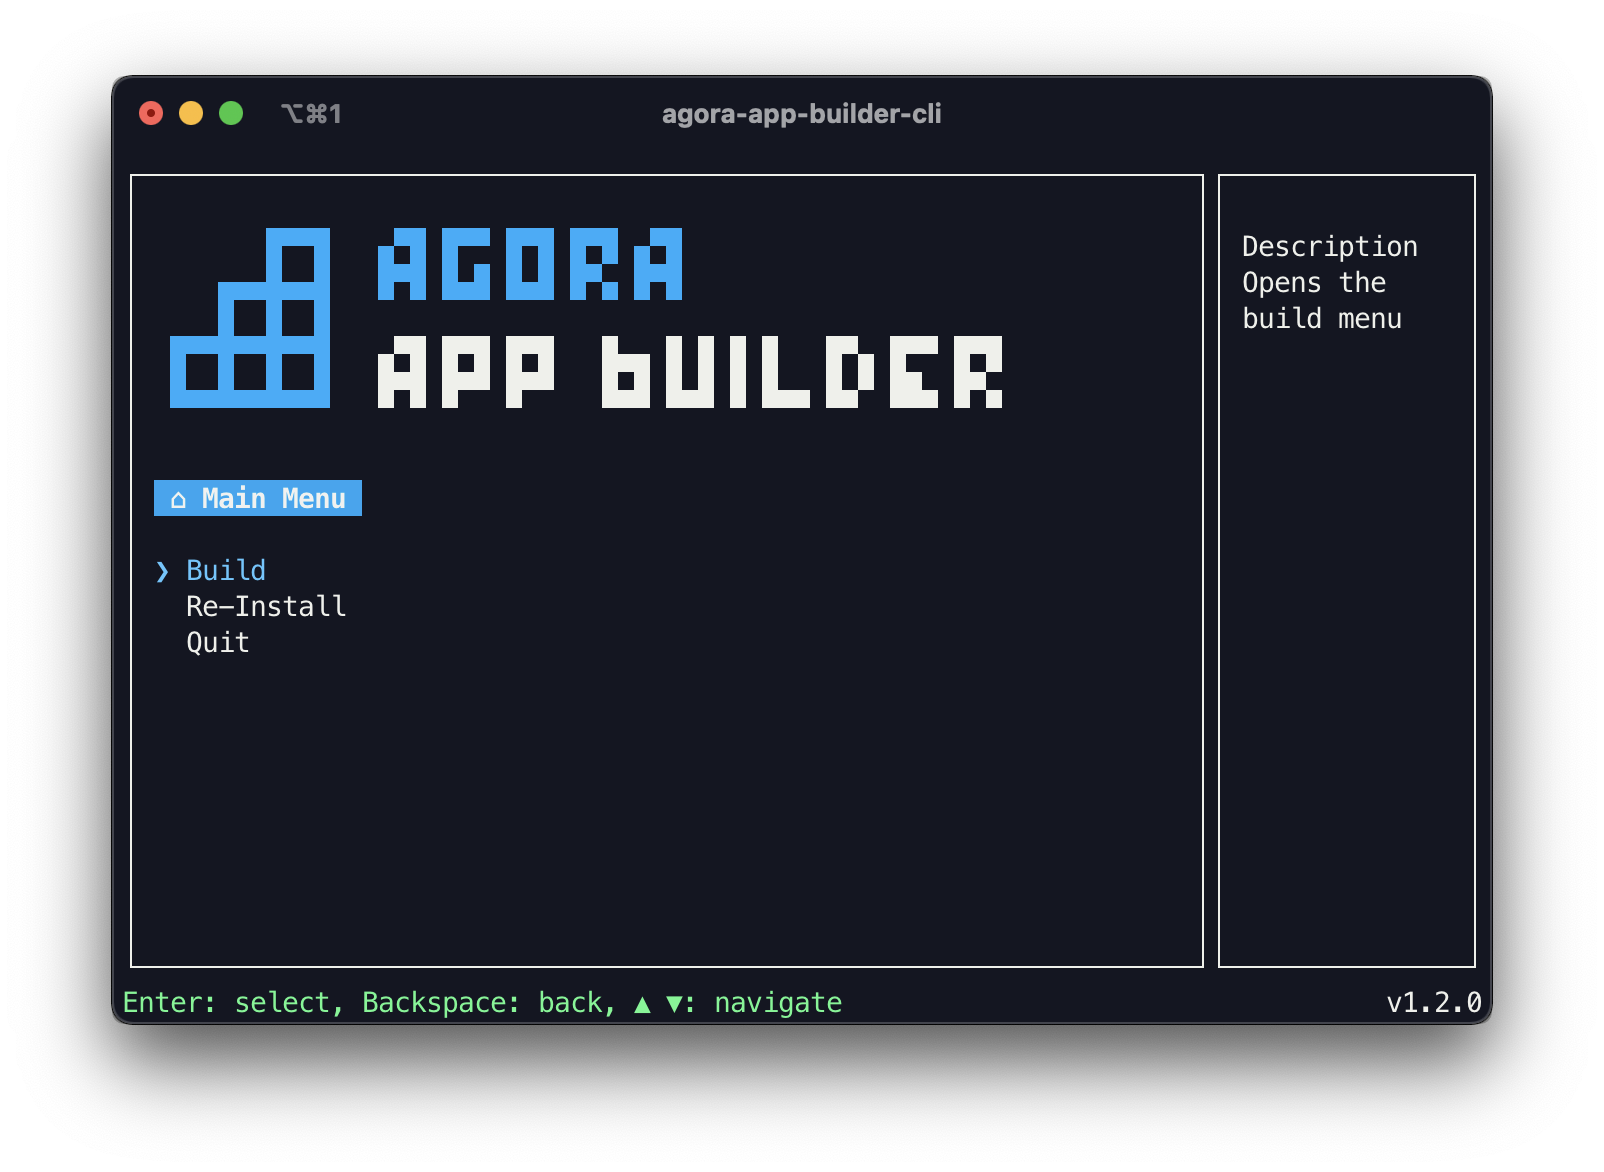
STEP 3: Choose Build Type
Select the appropriate build type based on your requirements. Choose "Web build" for a standalone native app or "Build for React SDK / Web SDK" for embedding the native app into an existing one. This process may take a few minutes.
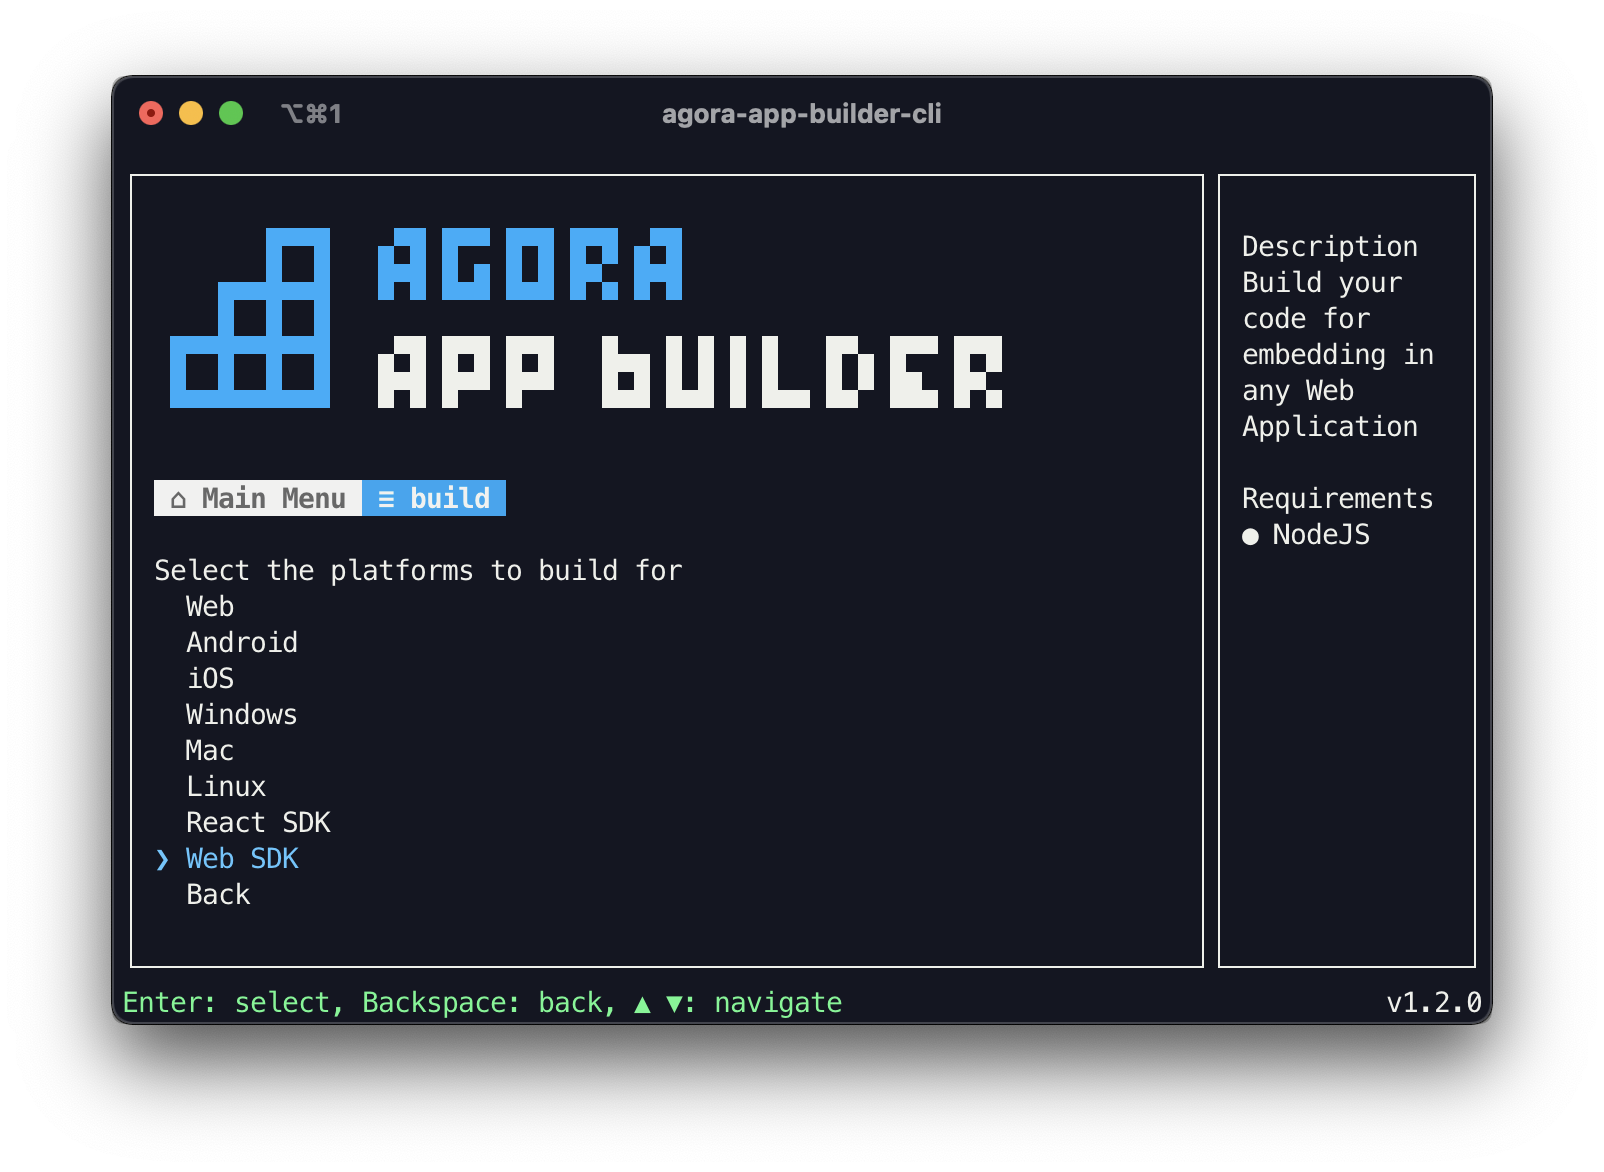
STEP 4: Customize Your Web App
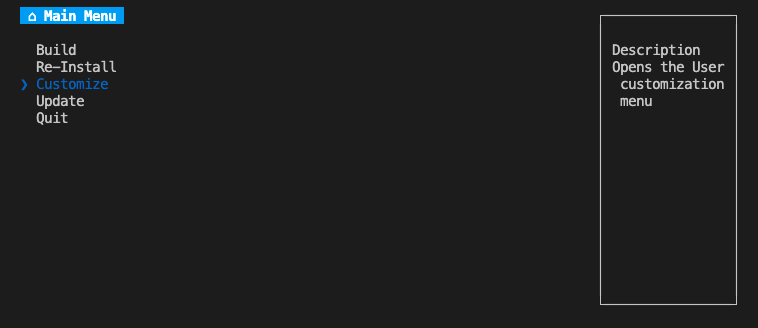
Customize your web app either using turnkey approach or either through Embed SDK approach
STEP 5: Deploy Your Web App
Once customization is complete, deploy your web app to Vercel or any other CDN providers. The URL of this deployed web app will be used for web-view integration in native apps.
Using RN CLI
Project Setup
Set up a new React Native project using the RN CLI.
npx react-native init ProjectName
cd ProjectName
Start development server
Start the development server using npm run start.Install the react-native-webview package to embed the web view:
npm install --save react-native-webview
For iOS, install CocoaPods dependencies usingnpx pod-install.
Provide Permissions
For iOS, add camera and microphone permissions in your app's Info.plist file
<key>NSCameraUsageDescription</key>
<string>We need access to your camera for video conferencing</string>
<key>NSMicrophoneUsageDescription</key>
<string>We need access to your microphone for video conferencing</string>
<key>UIBackgroundModes</key>
<array>
    <string>audio</string>
</array>
For Android, add the necessary permissions in ProjectName/android/app/src/main/AndroidManifest.xml
  <uses-permission android:name="android.permission.CAMERA" />
  <uses-permission android:name="android.permission.RECORD_AUDIO" />
  <uses-permission android:name="android.permission.MODIFY_AUDIO_SETTINGS" />
Update landing page
Edit ProjectName/App.tsx as follows:
function App(): React.JSX.Element {
  const DEPLOYED_APP_URL = "https://conferencing.agora.io/";

  const requestPermissions = async () => {
    try {
      if (Platform.OS === "android") {
        await PermissionsAndroid.requestMultiple([
          PermissionsAndroid.PERMISSIONS.CAMERA,
          PermissionsAndroid.PERMISSIONS.RECORD_AUDIO,
        ]);
      }
    } catch (err) {
      console.warn(err);
    }
  };

  React.useEffect(() => {
    requestPermissions();
  }, []);

  return (
    <SafeAreaView style={{ flex: 1 }}>
      <WebView style={{ flex: 1 }} source={{ uri: DEPLOYED_APP_URL }} />;
    </SafeAreaView>
  );
}
Replace DEPLOYED_APP_URL with the deployed link of your customized turnkey/sdk web app obtained in Step 5
Using EXPO CLI
Project Setup
Set up a new project with empty boilerplate using Expo:
npx create-expo-app --template blank
Install the below package to embed web view in your app
npm install --save react-native-webview@13.8.6
Start development server
Start the Expo Dev Server using npx expo start --tunnel , for any troubleshooting on setting up expo project , follow the expo docs.
Download the Expo Go on your Android / iOS devices and scan the QR code generated above to run the embed app in your device.
Provide the Permissions
Update permissions in your expo project's app.json :
{
    "expo": {
        ...,
           "ios": {
      "supportsTablet": true,
      "infoPlist": {
        "UIBackgroundModes": ["audio"],
        "NSCameraUsageDescription": "This app uses the camera for video call",
        "NSMicrophoneUsageDescription": "This app uses the microphone for video call"
      }
    },
    "android": {
      "adaptiveIcon": {
        "foregroundImage": "./assets/images/adaptive-icon.png",
        "backgroundColor": "#ffffff"
      },
      "permissions": ["android.permission.CAMERA", "RECORD_AUDIO"]
    },

    }
}
Also install below packages :
npx expo install expo-camera expo-av
Update the landing page
Remove the boilerplate code and start fresh with a new project using npm run reset-project
Open Expo Project and edit app/index.tsx as follows:
export default function Index() {
  const { height, width } = useWindowDimensions();
  const DEPLOYED_APP_URL = "https://conferencing.agora.io";

  useEffect(() => {
    async function requestPermissions() {
      if (Platform.OS === "android") {
        try {
          // Request camera permissions
          const cameraPermission = await Camera.requestCameraPermissionsAsync();
          if (cameraPermission.status !== "granted") {
            console.log("Camera permission denied");
          } else {
            console.log("Camera permission granted");
          }

          // Request audio recording permissions
          const audioPermission = await Audio.requestPermissionsAsync();
          if (audioPermission.status !== "granted") {
            console.log("Audio recording permission denied");
          } else {
            console.log("Audio recording permission granted");
          }
        } catch (error) {
          console.error("Error requesting permissions:", error);
        }
      }
    }

    requestPermissions();
  }, []);

  return (
    <SafeAreaView style={{ flex: 1 }}>
      <WebView
        allowsInlineMediaPlayback
        mediaPlaybackRequiresUserAction={false}
        source={{ uri: DEPLOYED_APP_URL }}
        style={{
          flex: 1,
          height: height,
          width: width,
        }}
      />
    </SafeAreaView>
  );
}
Replace DEPLOYED_APP_URL with the deployed link of your customized turnkey/sdk web app obtained in STEP 5