Embed App Builder Web SDK in a React Web App
The following guide describes the process of embedding the App Builder React SDK in a React web app.
App Bulder React SDK only supports React v16 based applications.
BUILDING
STEP 1
You need to download and extract the app builder source code, you can read more here.
Run the app-builder-cli in your project folder using the following command:
npm i && npm run start
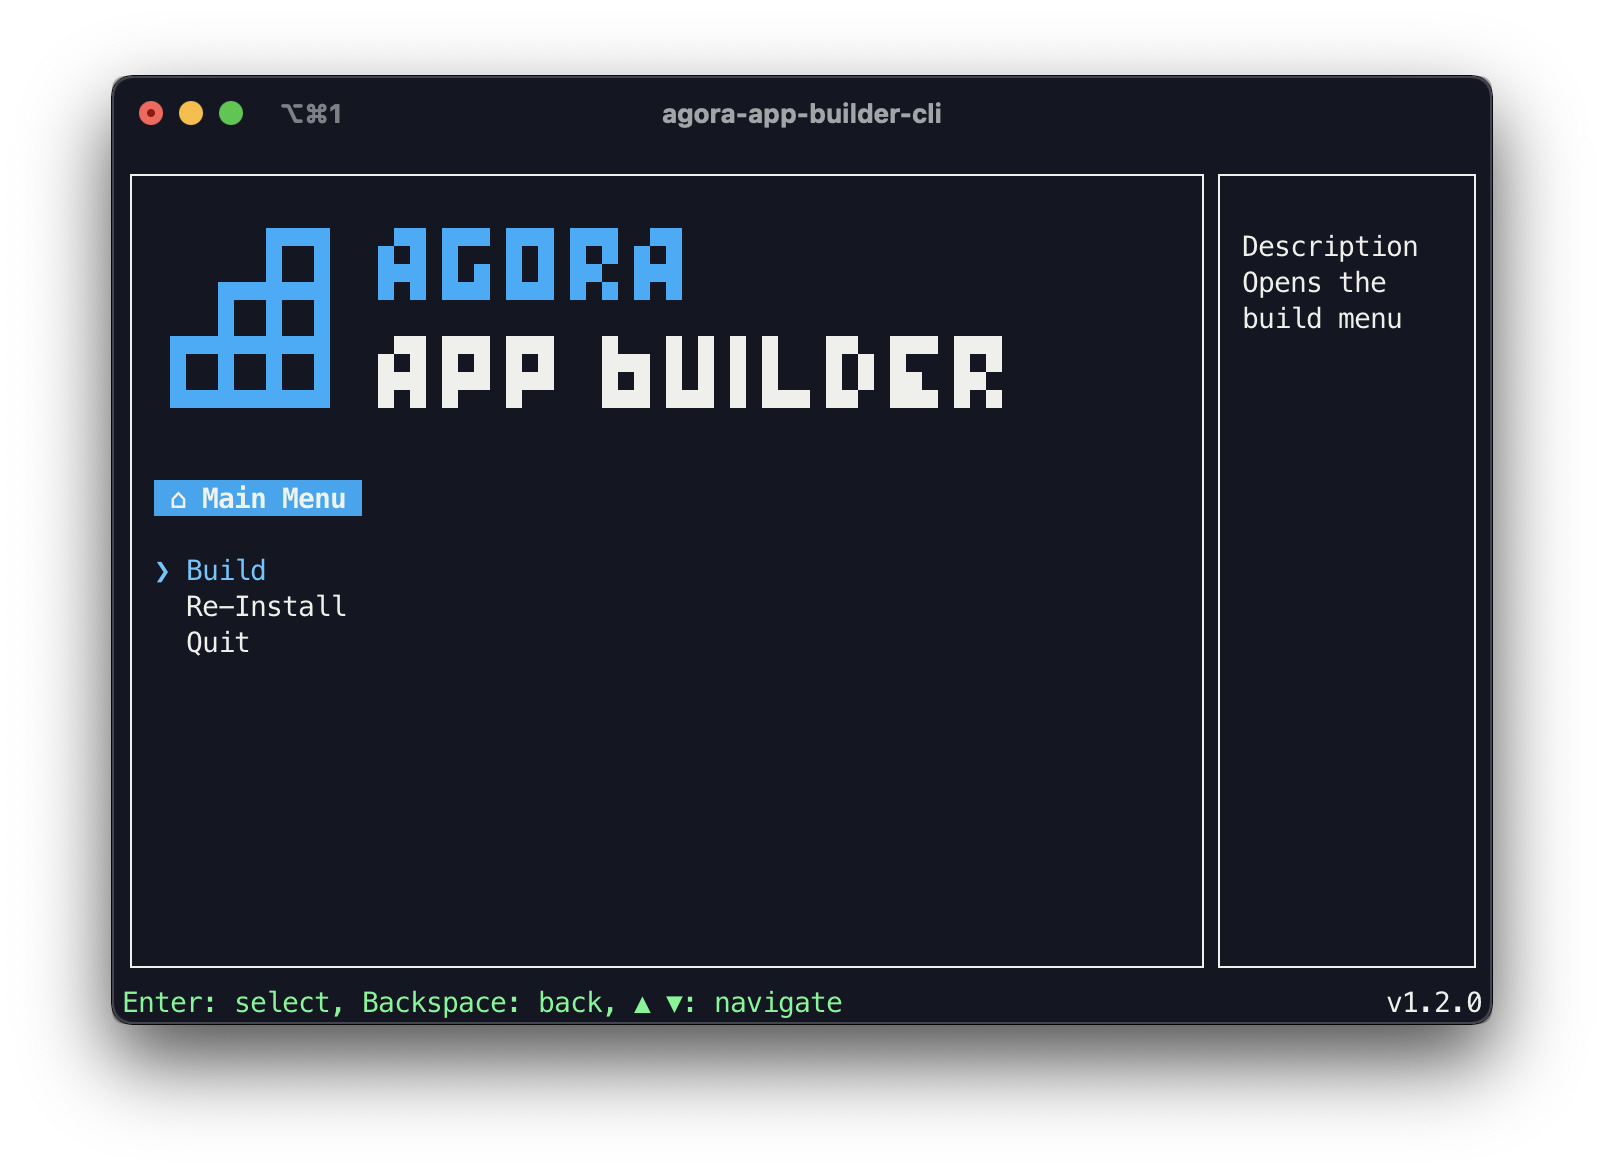
STEP 2
Navigate using the arrow keys and select the Build option using the enter key
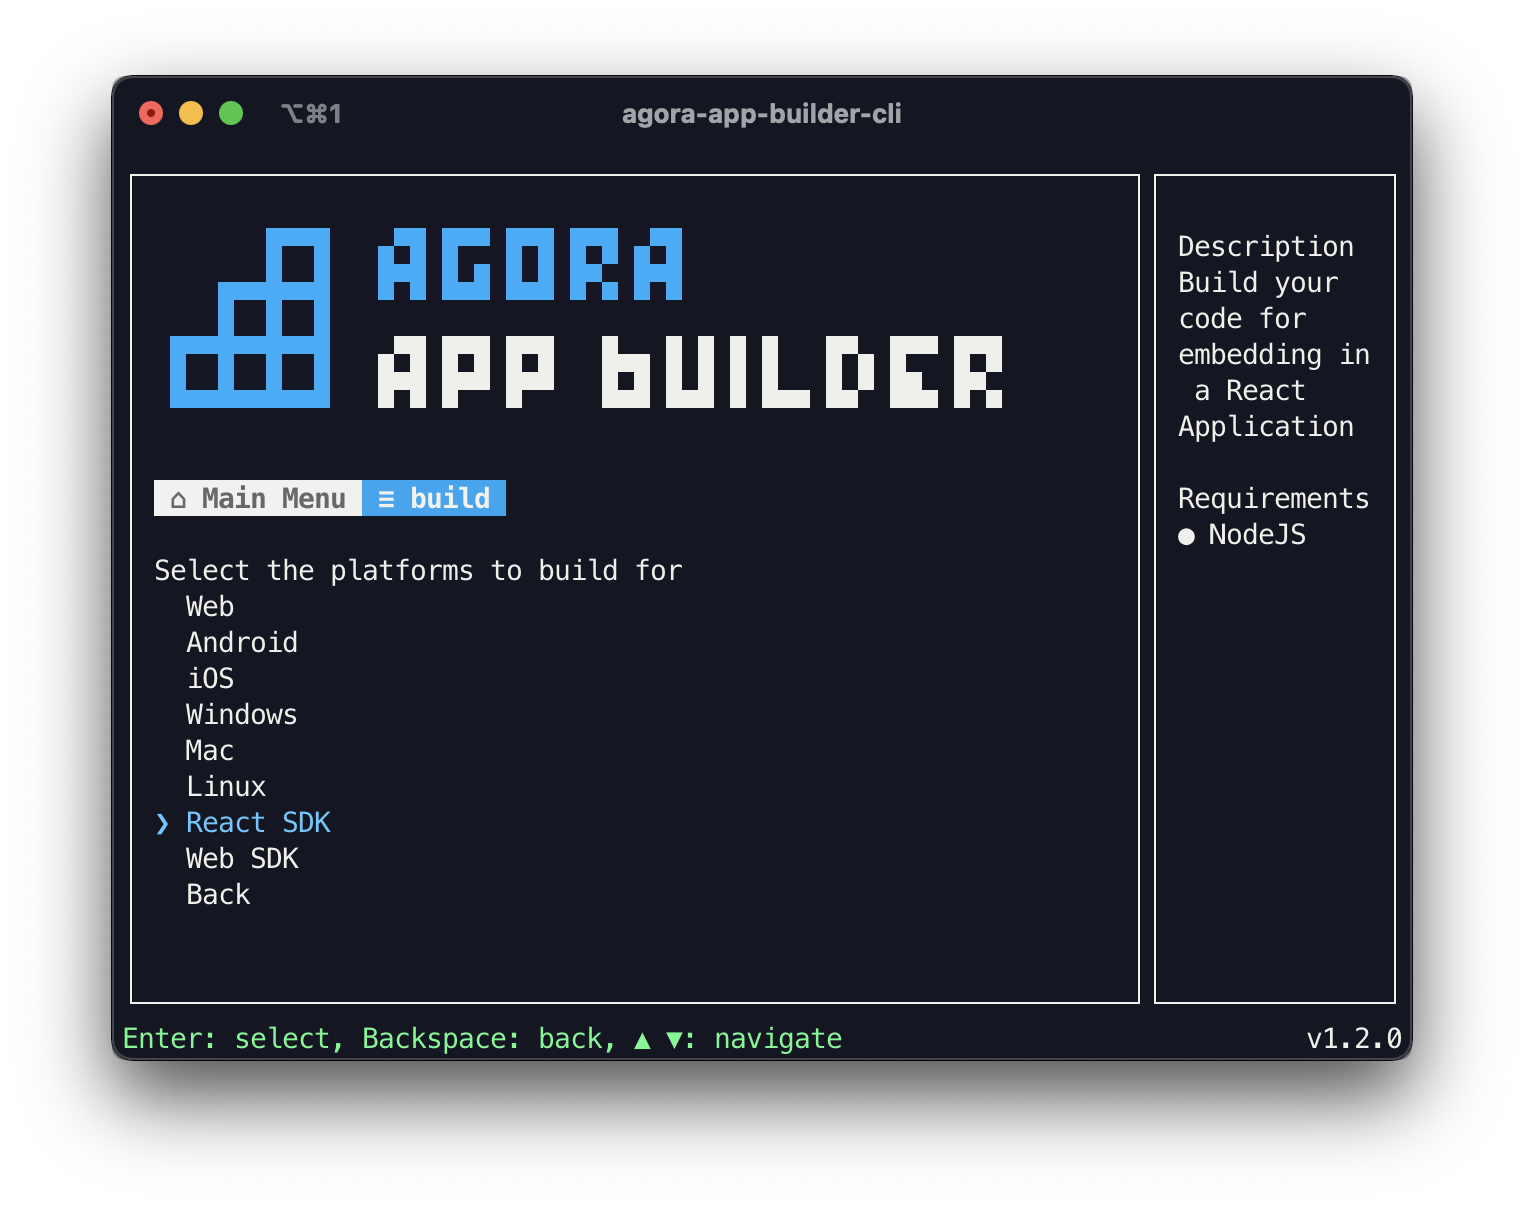
STEP 3
Select the React SDK platform, after which the CLI will start the build process. This will take a few minutes.
STEP 4
Once the build is complete open a terminal window in your React project directory.
STEP 5
The app-builder-cli compiles your App Builder project into a node module inside the <Agora App Builder>/Builds/react-sdk folder. Simply install this module using the following command.
npm install <path-to-app-builder-project-folder>/Builds/react-sdk/appbuilder-reactv<version>-<build-hash>.tgz --force
STEP 6
Navigate to <Agora App Builder>/Builds/react-sdk and copy the wasm folder , png and ttf files into your project's public assets folder.
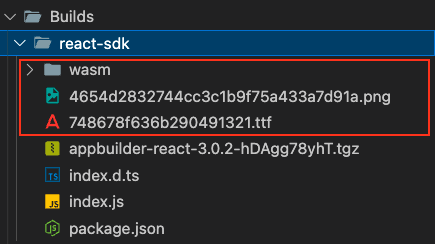
Now, import the font in the public/index.html of the customized app.
<style type="text/css">
  @font-face {
    font-family: "Icomoon";
    src: url(./static/fonts/748678f636b290491321.ttf) format("truetype");
  }
</style>
USAGE
STEP 1
The module is installed with same name as your App Builder project. Import it just like any other node module into your desired React component.
import AgoraAppBuilder from "@appbuilder/react";
STEP 2
After importing the module your App Builder project can be rendered using the View property on the imported AgoraAppBuilder object.
Make sure to provide necessary styling including a width, height and display flex on the parent element of the View component for proper scaling.
const App = () => {
  return (
    <div style={{ display: "flex", width: "100vw", height: "550px" }}>
      <AgoraAppBuilder.View />
    </div>
  );
};
STEP 3
Start the development server inside your React project directory with the following command
npm run start
STEP 4
You should now see your App Builder project being displayed in your desired React component.
CUSTOMIZATION
STEP 1
You can use Customization APIs to customize your embedded App Builder project.
Read this guide for more information.
STEP 2
To create a Customization in a React web app you need to access the createCustomization method on the imported AgoraAppBuilder object, which takes the UserCustomizationConfig as a parameter and returns a customization object.
Make sure you do this on component mount for best results.
import AgoraAppBuilder from "@appbuilder/react";

const App = () => {
  useEffect(()=>{
    const customization = AgoraAppBuilder.createCustomization({
    /*
      My Customization Config. See https://appbuilder-docs.agora.io/customization-api/quickstart to get started with customizing!
    */
    });
  },[])
...
STEP 3
Pass the returned customization object to the customize method available under the same AgoraAppBuilder object to apply the config to your embedded App Builder project.
import AgoraAppBuilder from "@appbuilder/react";

const App = () => {
  useEffect(()=>{
    const customization = AgoraAppBuilder.createCustomization({
    /*
      My Customization Config. See https://appbuilder-docs.agora.io/customization-api/quickstart to get started with customizing!
    */
    });
    AgoraAppBuilder.customize(customization);
  },[])
...
STEP 4
You should now be able to see your customizations in action!