iOS Guide
Development build
To create a development build,
- Follow the quickstart guide to create a new app with the app builder and install all the dependencies
- Run
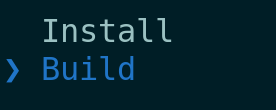
npm startin the project root. This will launch the CLI - Select Build in the main menu

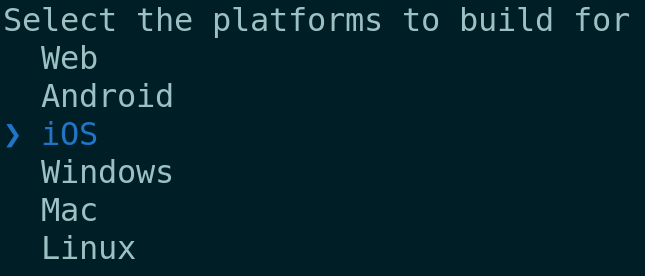
- Select iOS in the platforms menu

- Select Development in the build menu

- Xcode will now launch with your app
- Select your project in the Xcode project navigator
- Type in a bundle id and build number for your project
- To configure automatic signing,
- Navigate to signing and capabilities
- Select your signing team
- Select your device on the top bar and press build
- This will launch the development edition of the application on your iOS device
Production build with code signing
To create a production build,
- Follow the quickstart guide to create a new app with the app builder and install all the dependencies
- Run
npm startin the project root. This will launch the CLI - Select Build in the main menu

- Select iOS in the platforms menu

- Select Production in the build menu

- Xcode will now launch with your app
- Select your project in the Xcode project navigator
- Type in a bundle id and build number for your project
- To configure automatic signing,
- Navigate to signing and capabilities
- Select your signing team
- To enable deep links,
- Set up the web deployment according to this guide
- Navigate to Build Phases > Copy Bundle Resources and select
<PRODUCT_ID>.entitlements
- Select the connected iOS device on the top panel
- Select Product > Archive. This will create a new distributable archive
- Select Window > Organizer. You should see all your archives listed here
- Select Distribute app > App Store Connect to start the export wizard for testflight