Setup Authentication on App Builder
Setup authentication with Google
If you're using Google OAuth, here's what you'll need to do to get the credentials.
- Go to the Credentials page.
- Click Create credentials > OAuth client ID.
- Select the Web application application type.
- Name your OAuth 2.0 client and click Create
After configuration is complete, take note of the client ID and client Secret that was created.
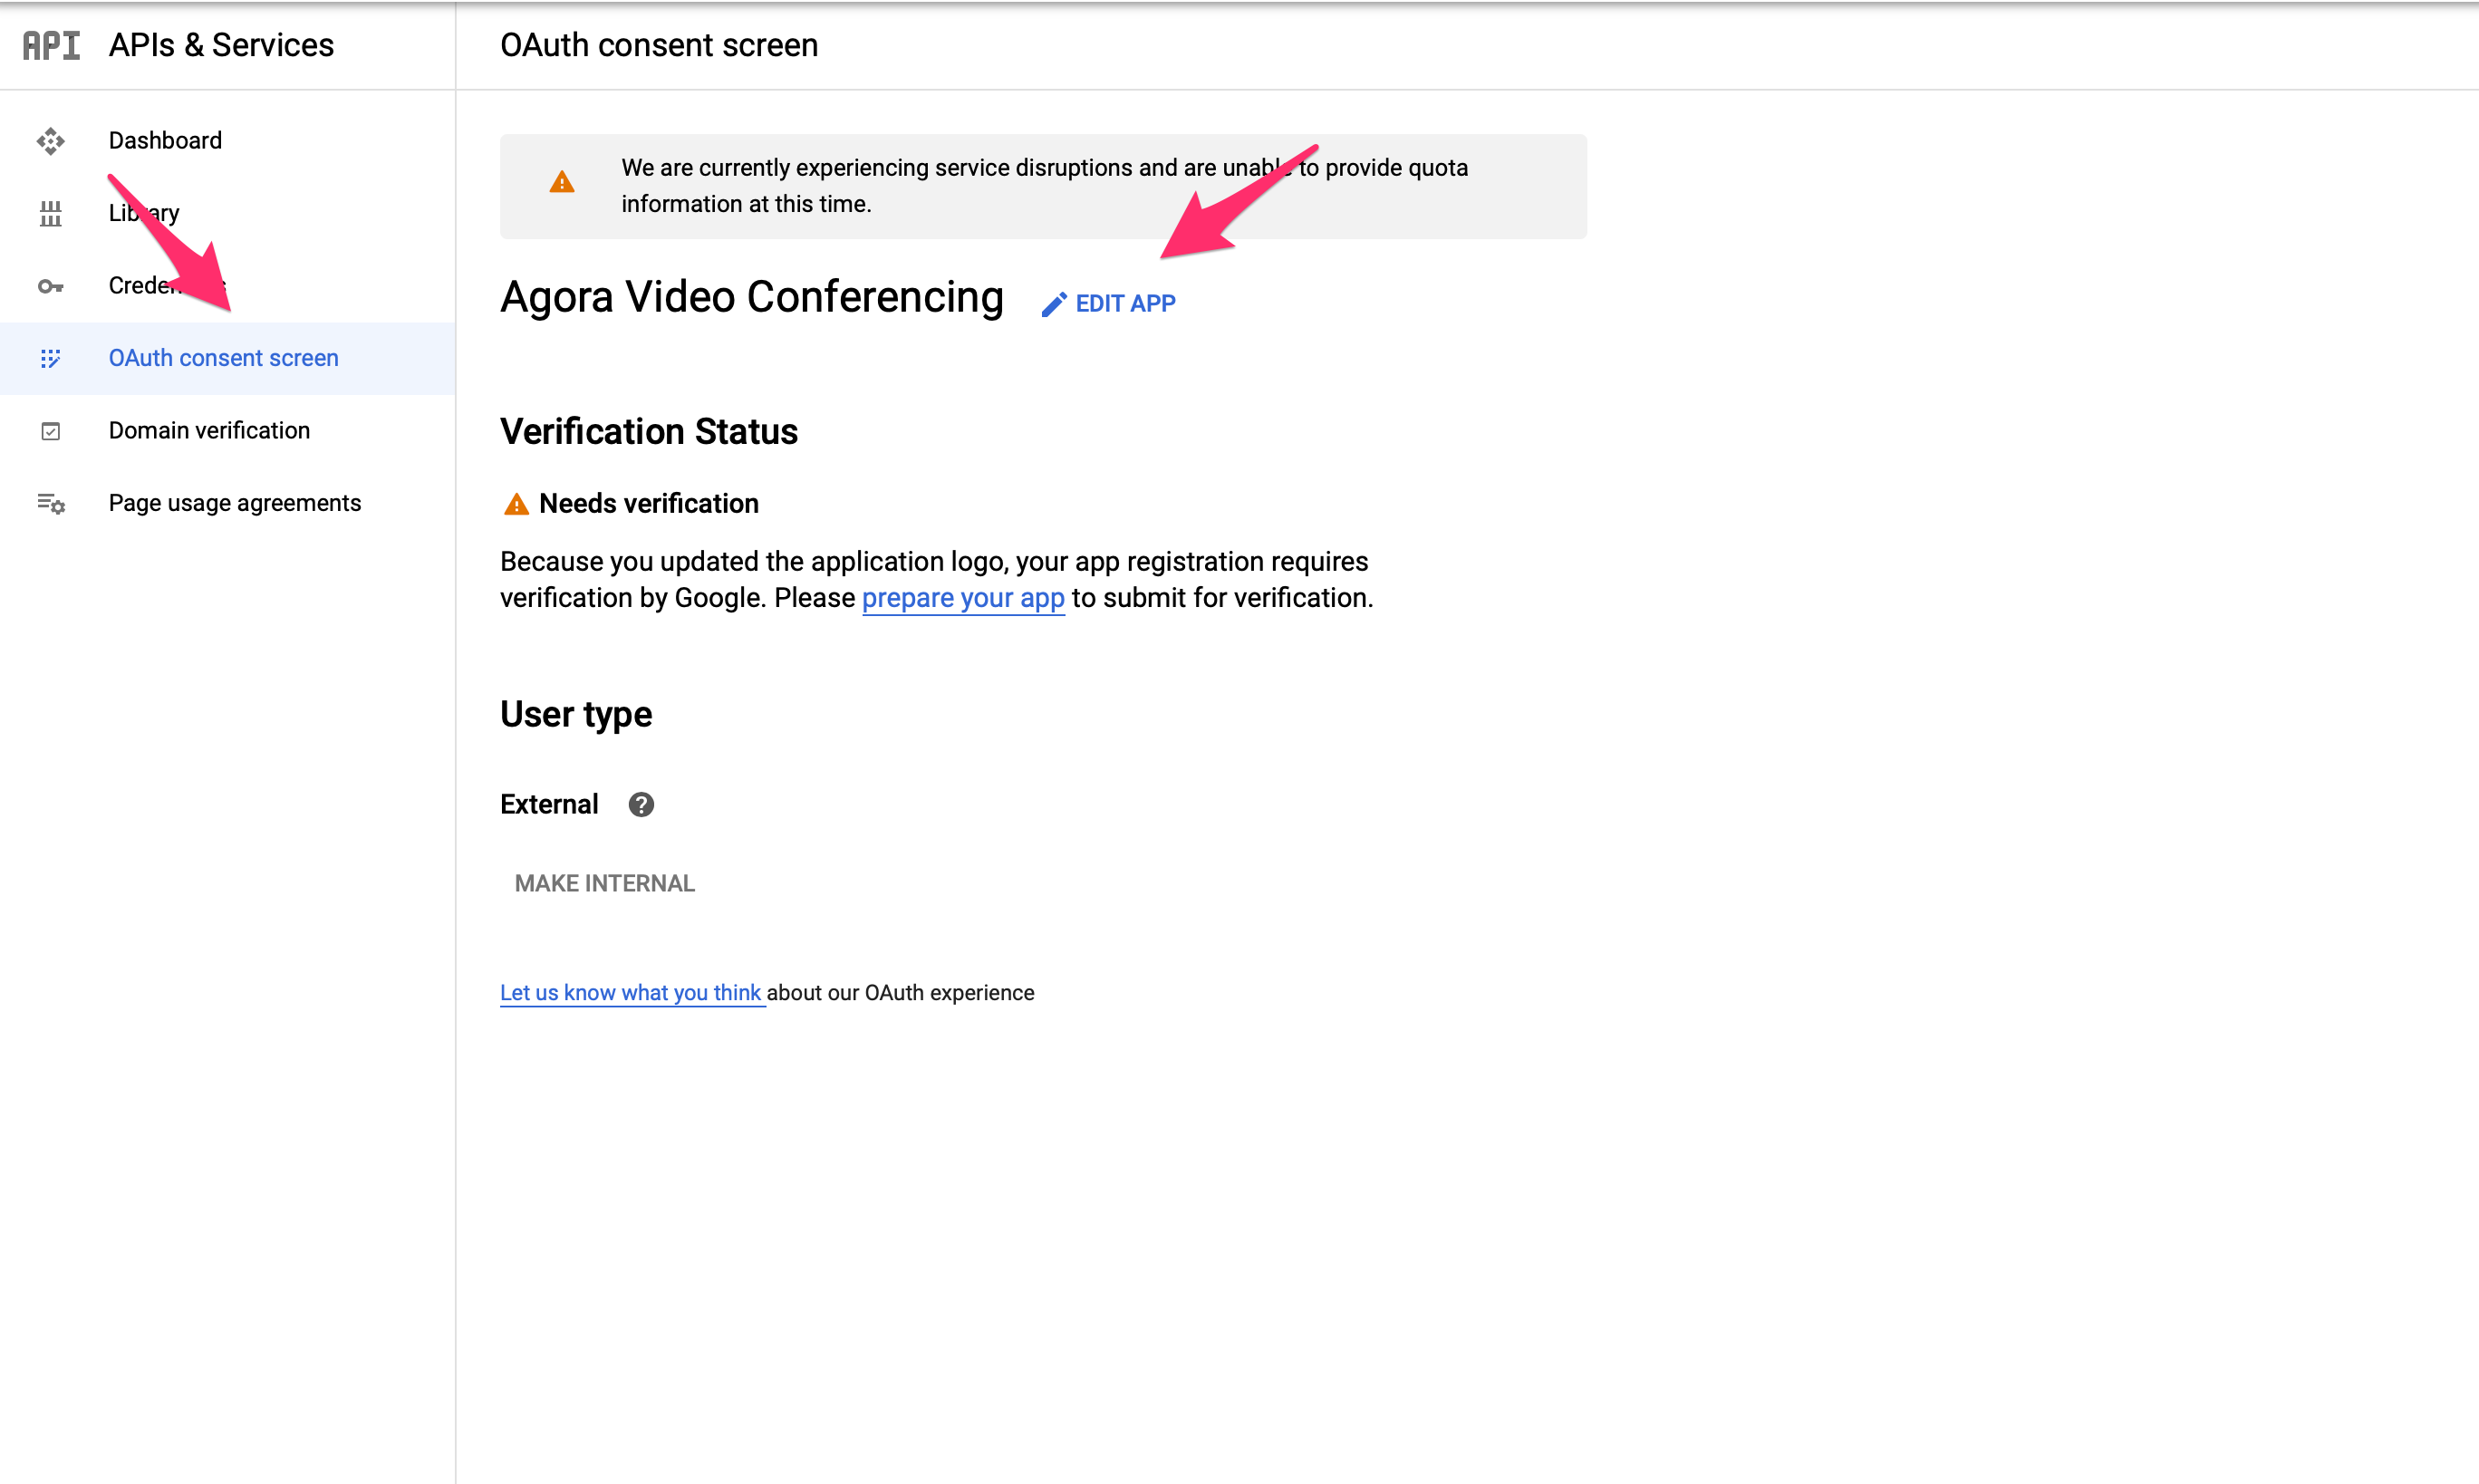
Next, go to the consent screen page https://console.developers.google.com/apis/credentials/consent and click edit.
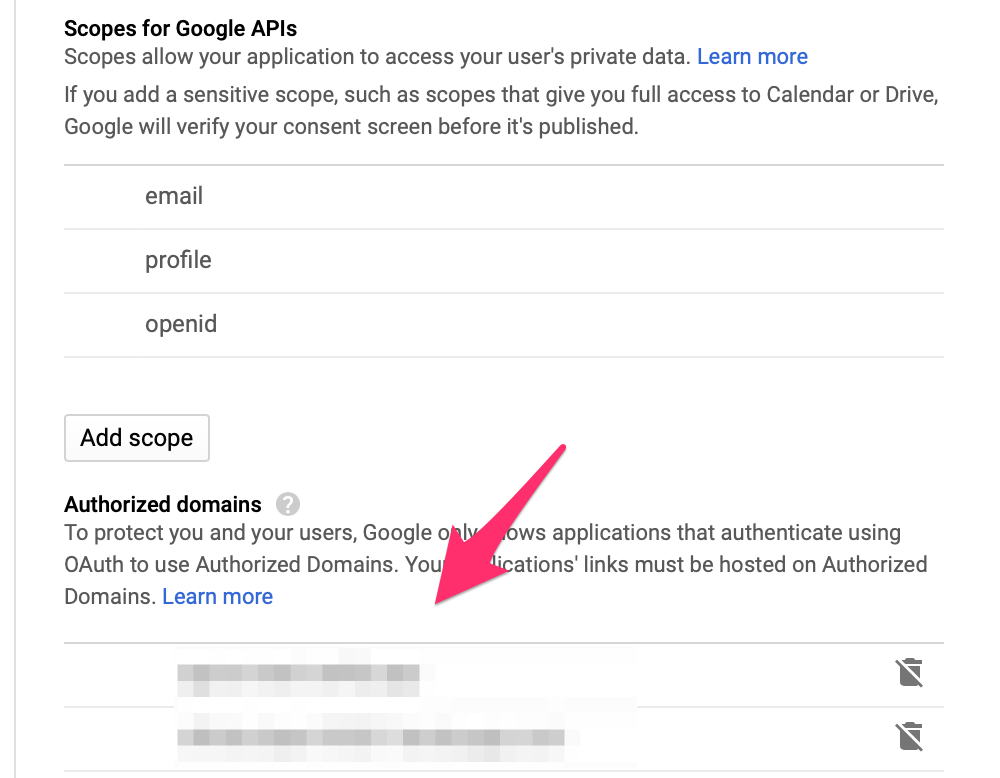
Next, go to Authorized Domains and add your frontend URL.
Next, go to Credentials, and click the edit button.
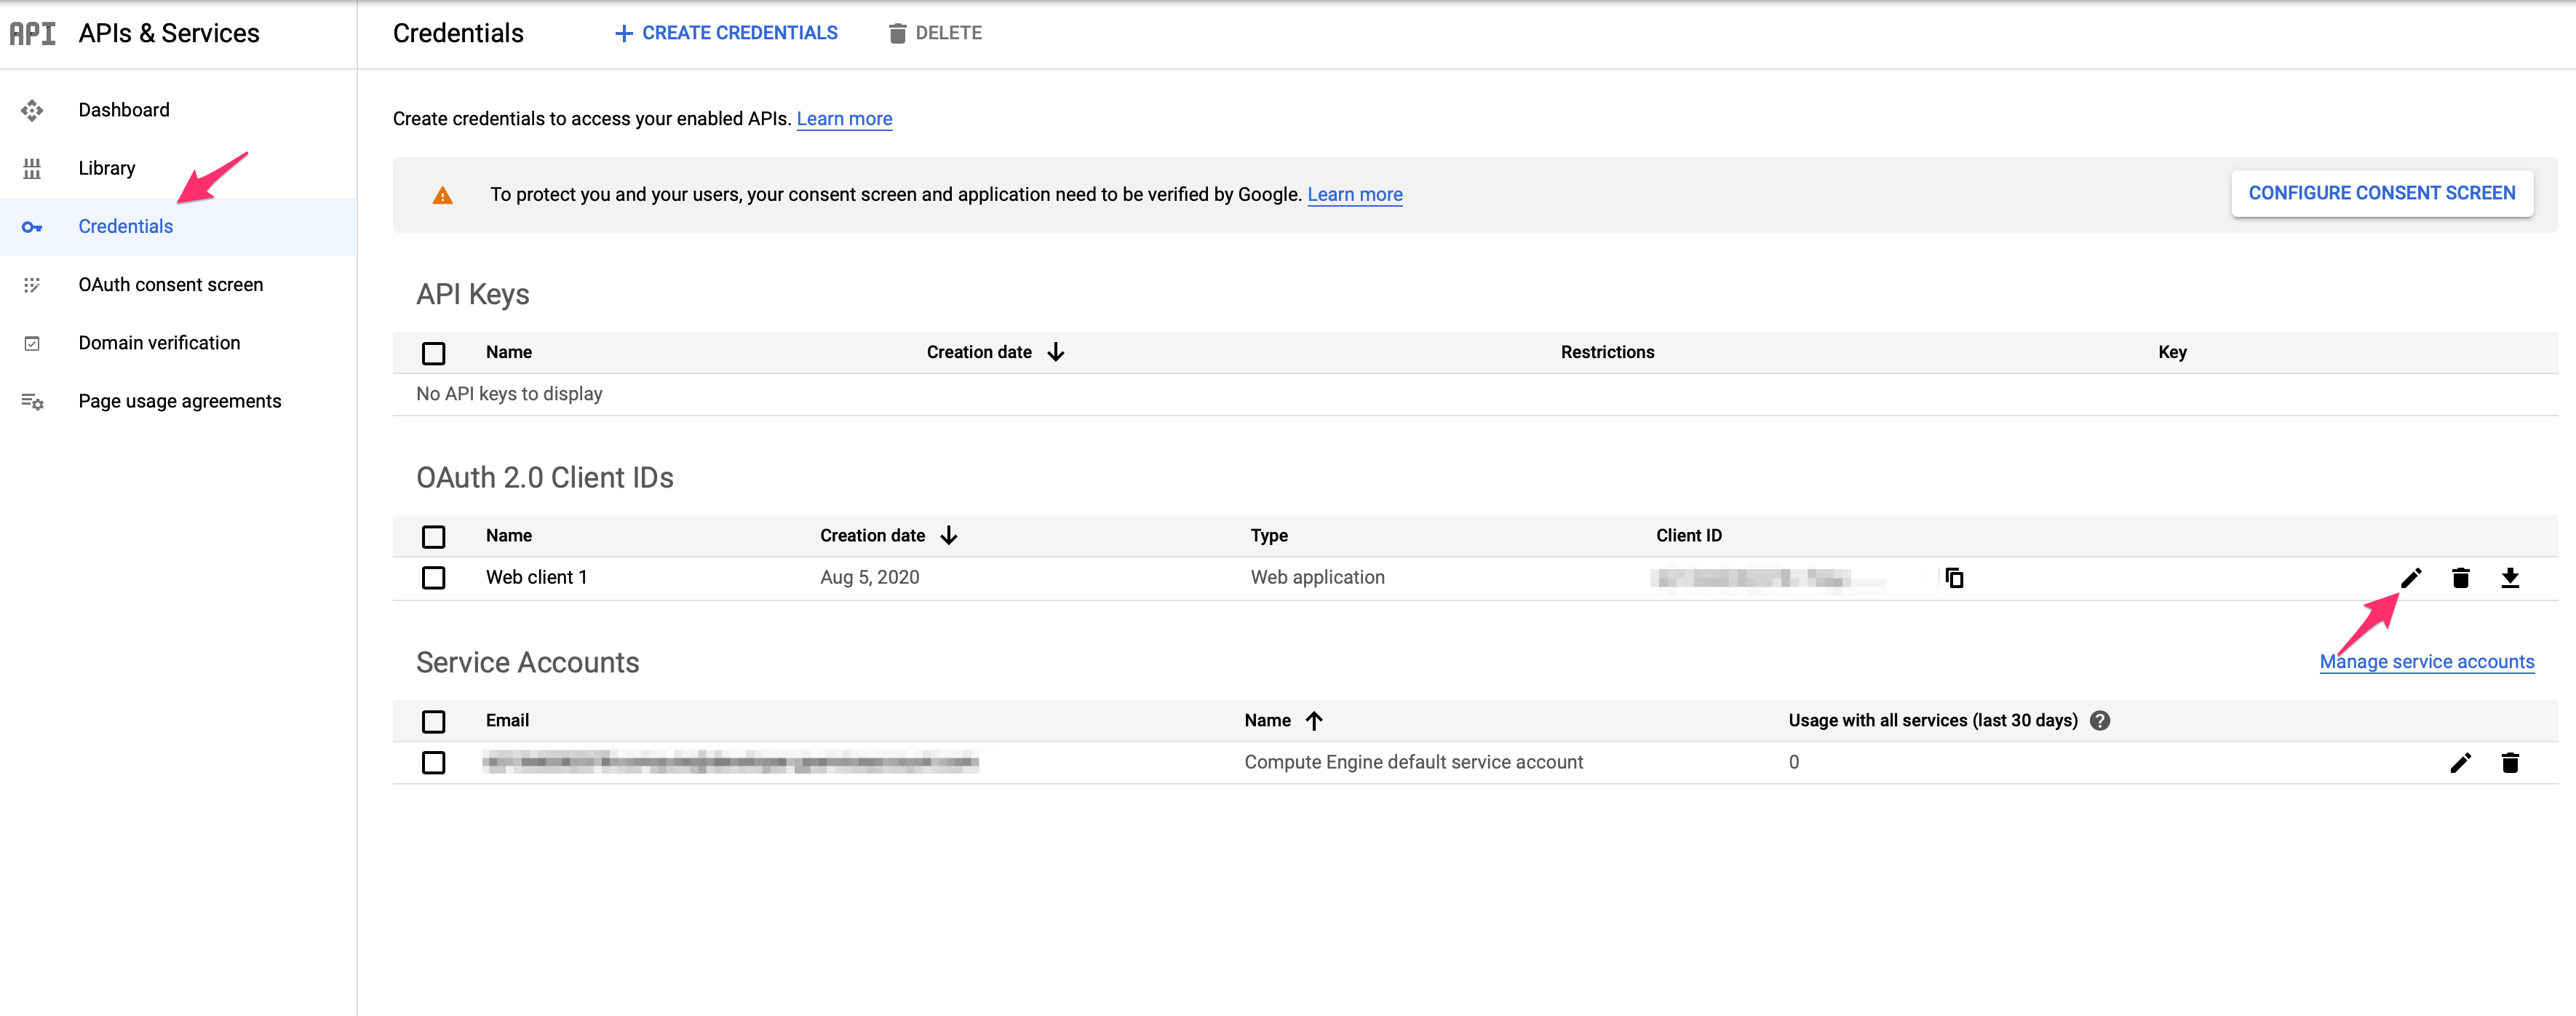
Add your backend URL to the Authorized redirect URIs with the following route: /oauth
After you get your Client ID and Client Secret, you can directly enter them inside your project using the App Builder console.
If you opt for the manual deployment, then you need to add the following credentials:
Set ENABLE_GOOGLE_OAUTH to true
Set GOOGLE_CLIENT_ID to the client id you got above
Set GOOGLE_CLIENT_SECRET to the client secret you got above
Setup authentication with Microsoft
Login with your microsoft account at https://portal.azure.com/#home. To get your credentials, follow the steps from this guide: https://docs.microsoft.com/en-us/azure/active-directory/develop/quickstart-register-app
After you get your Client ID and Client Secret, you can directly enter them inside your project using the App Builder console.
If you opt for the manual deployment, then you need to add the following credentials:
Set ENABLE_MICROSOFT_OAUTH to true
Set MICROSOFT_CLIENT_ID to the client id you got above
Set MICROSOFT_CLIENT_SECRET to the client secret you got above
Setup authentication with Slack
To have OAuth using Slack, you need to setup your own Slack App. To do that, go to the following URL: https://api.slack.com/apps. Make sure you're signed into your Slack Account.
- Click on "Create an App"
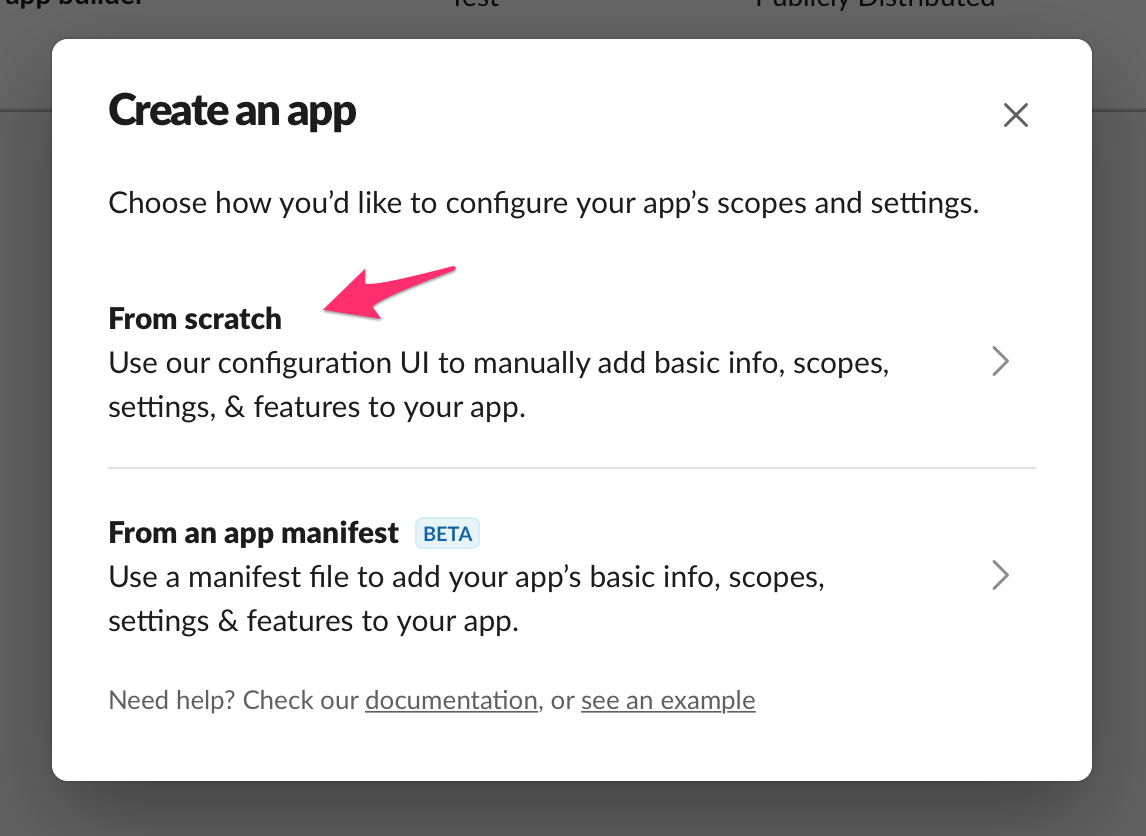
- Click on "From Scratch"
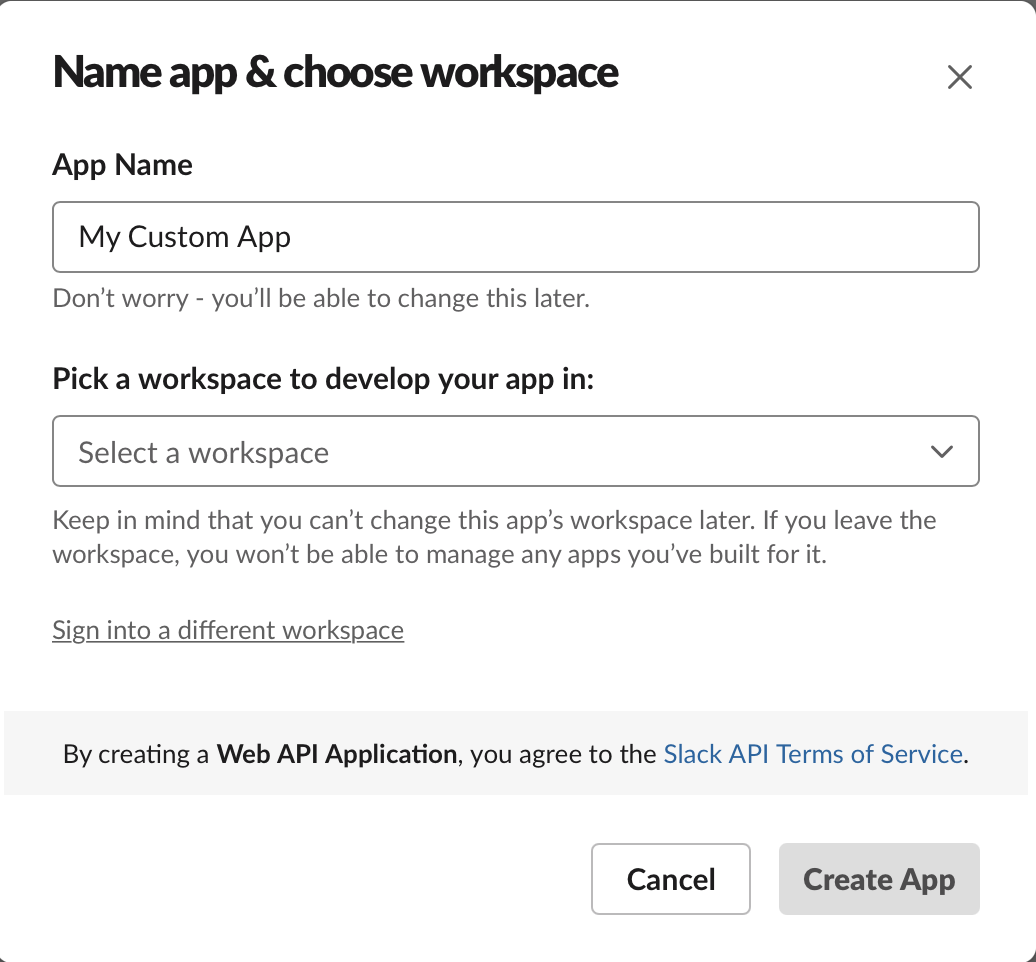
- Enter the name of your app and choose your workspace
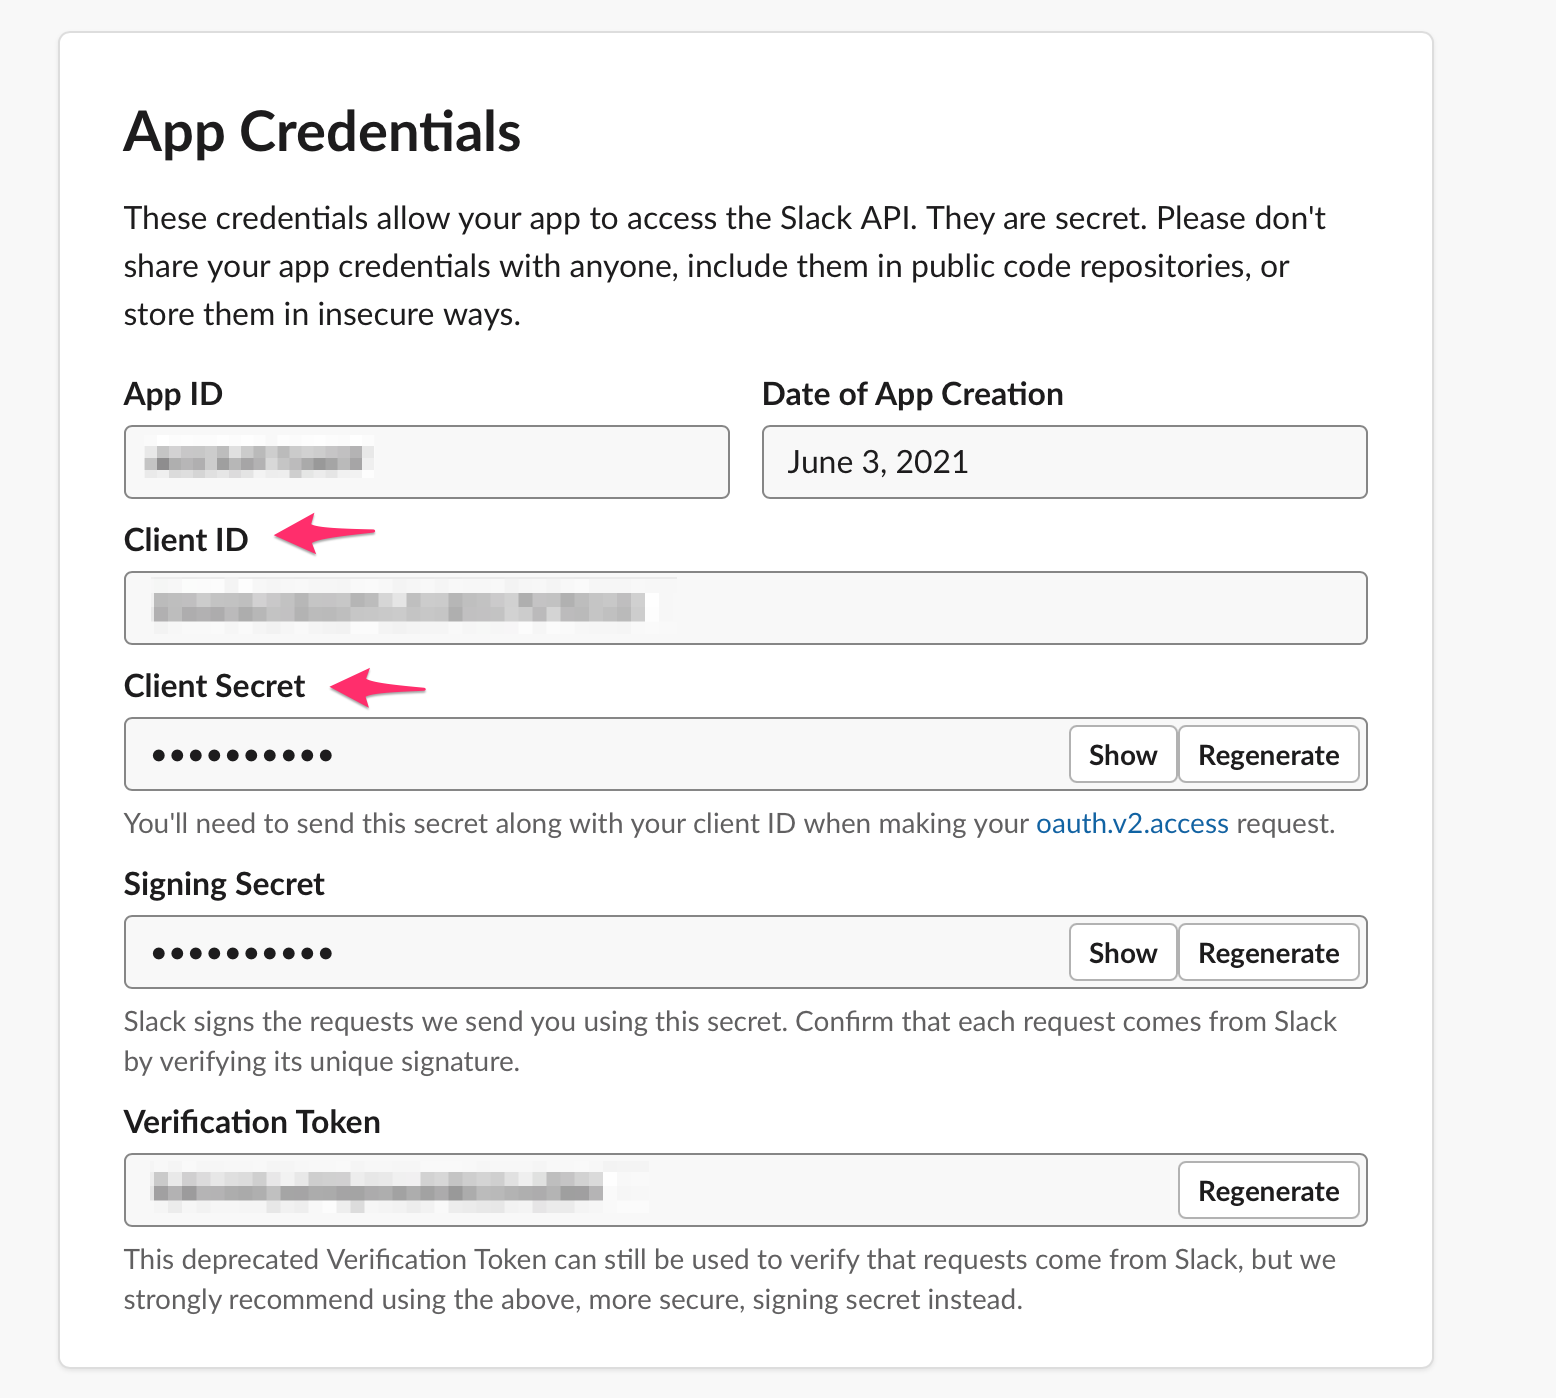
- After you click on "Create App", you should be able to your App's page. Scroll down to see your app's credentials. You can see your App's Client ID and Client Secret. You can directly enter them inside your project using the App Builder console.
If you opt for the manual deployment, then you need to add the following credentials:
Set ENABLE_SLACK_OAUTH to true
Set SLACK_CLIENT_ID to the client id you got above
Set SLACK_CLIENT_SECRET to the client secret you got above
Setup authentication with Apple
To set up authentication using Apple, you need to have an Apple Developer Account. After you have that setup, login to your account and follow the following steps:
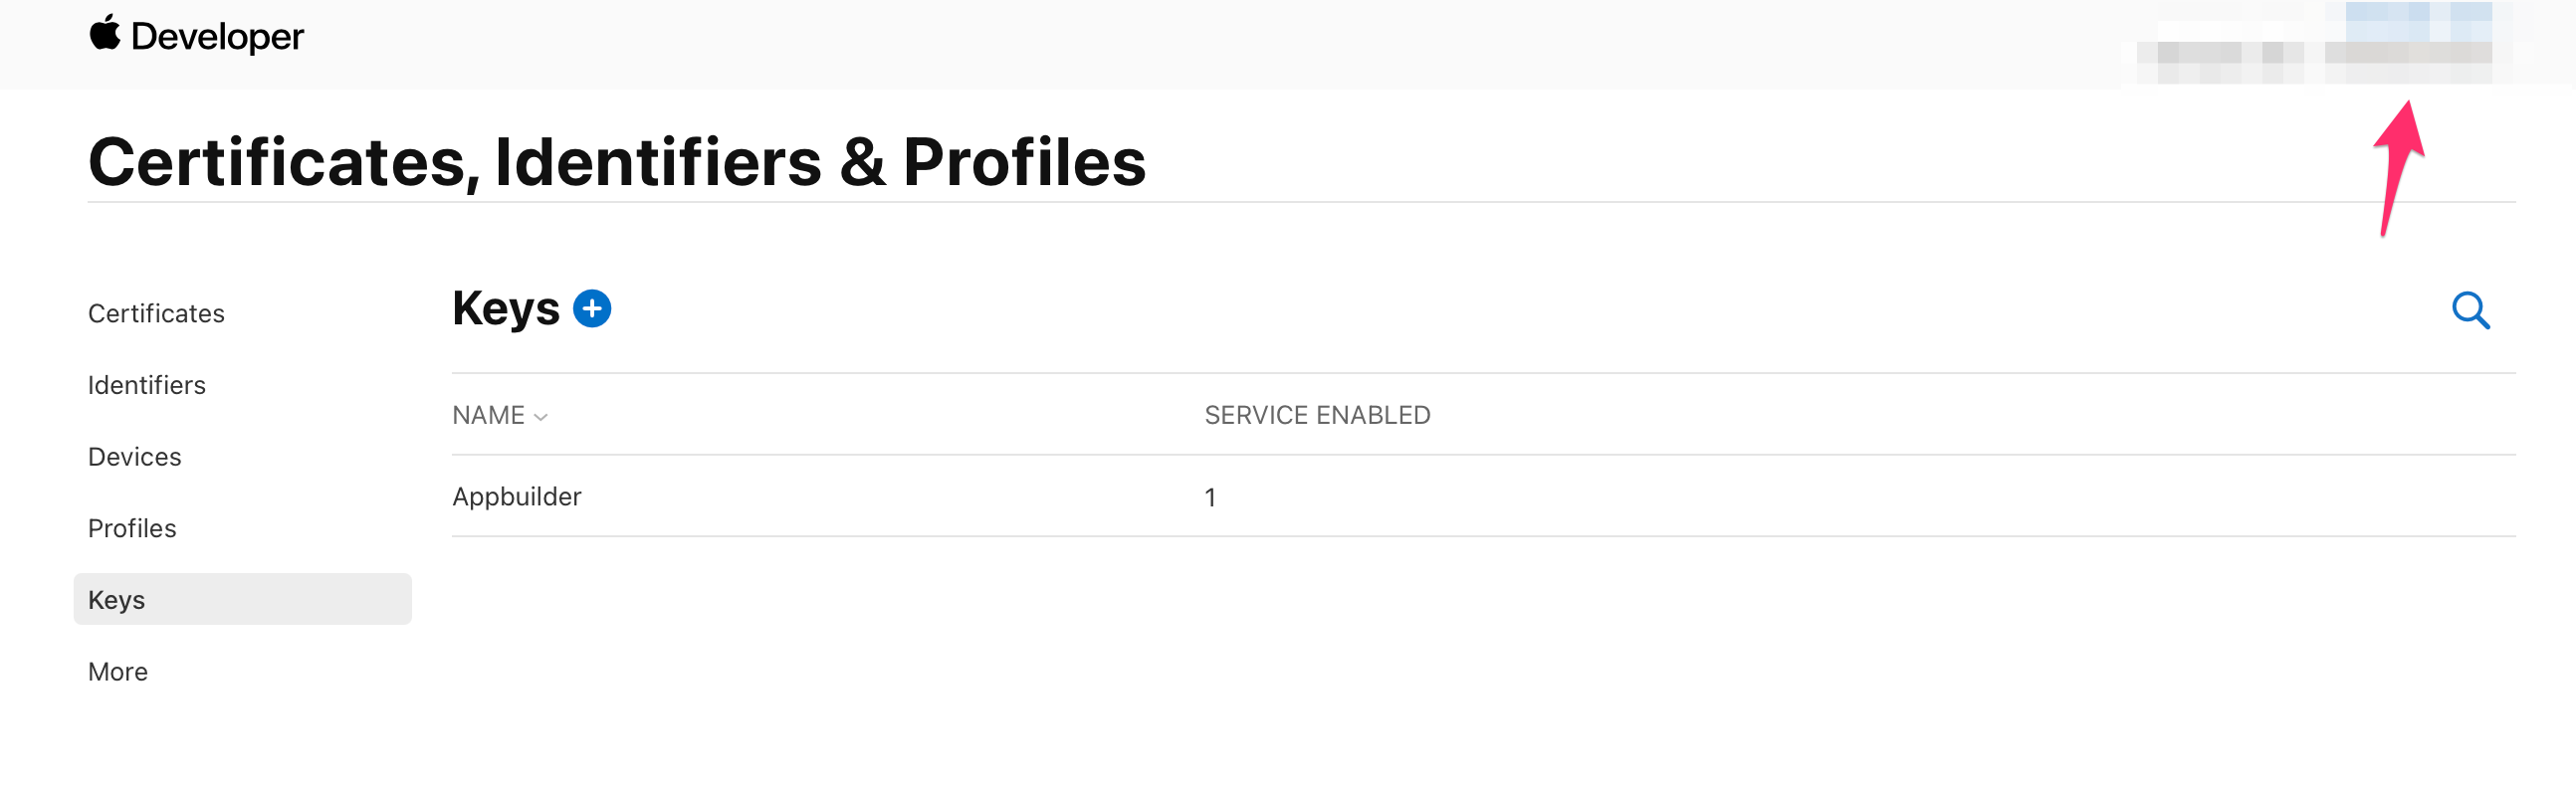
You need to navigate to the Certificates, Identifiers and Profiles page.
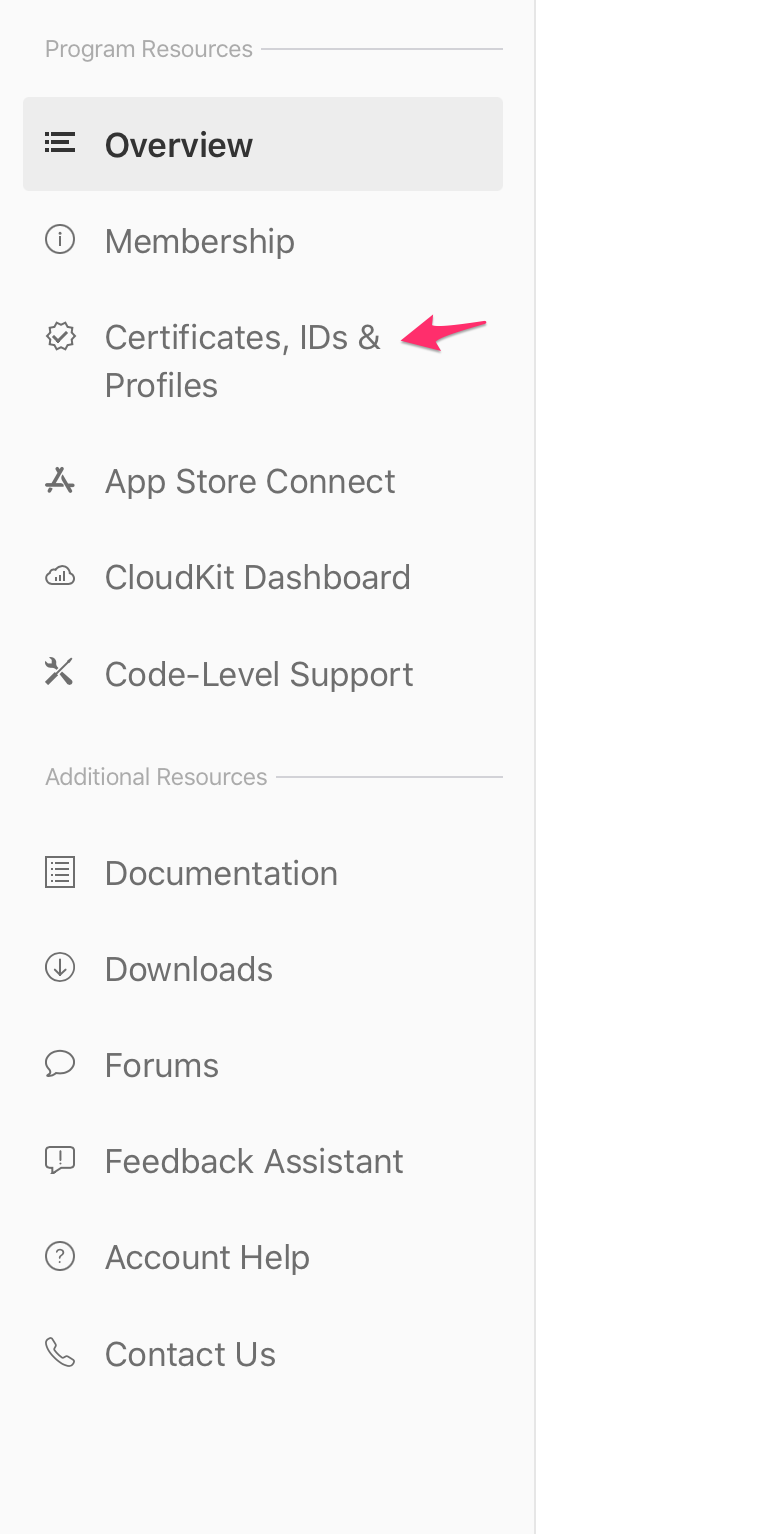
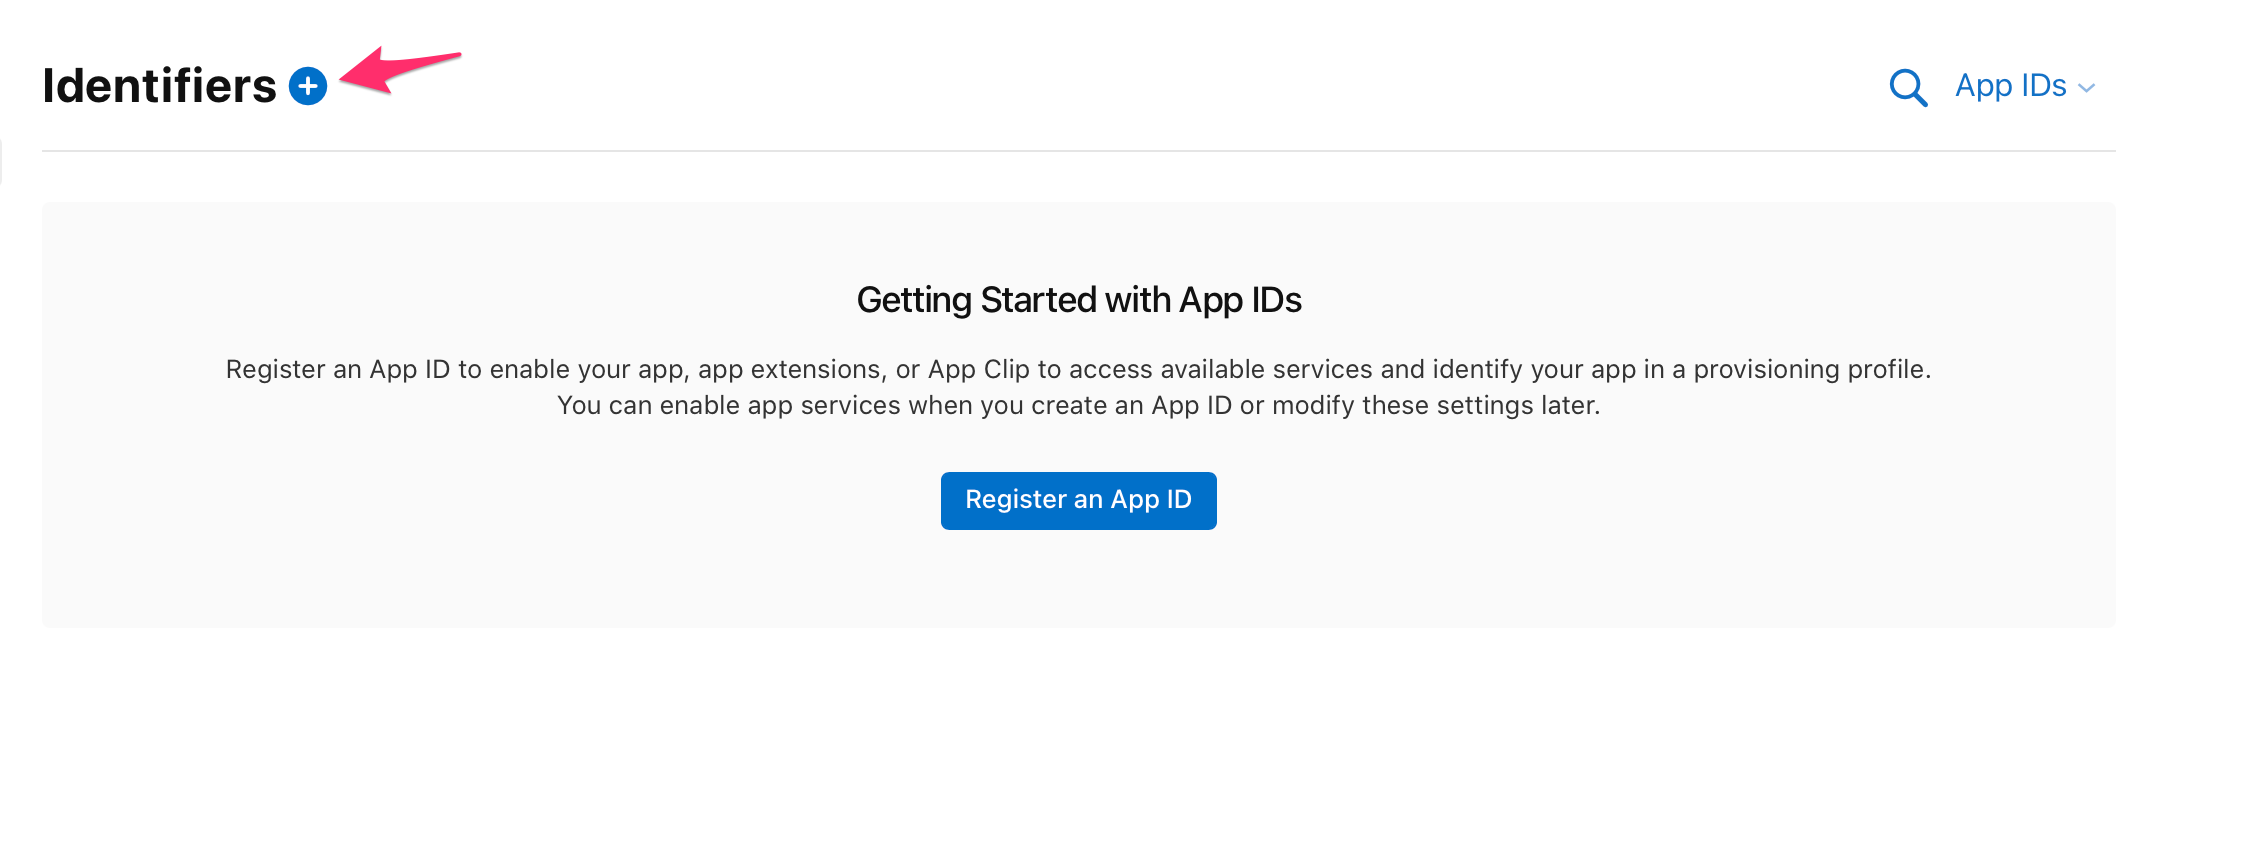
Click on Identifiers in the left menu.
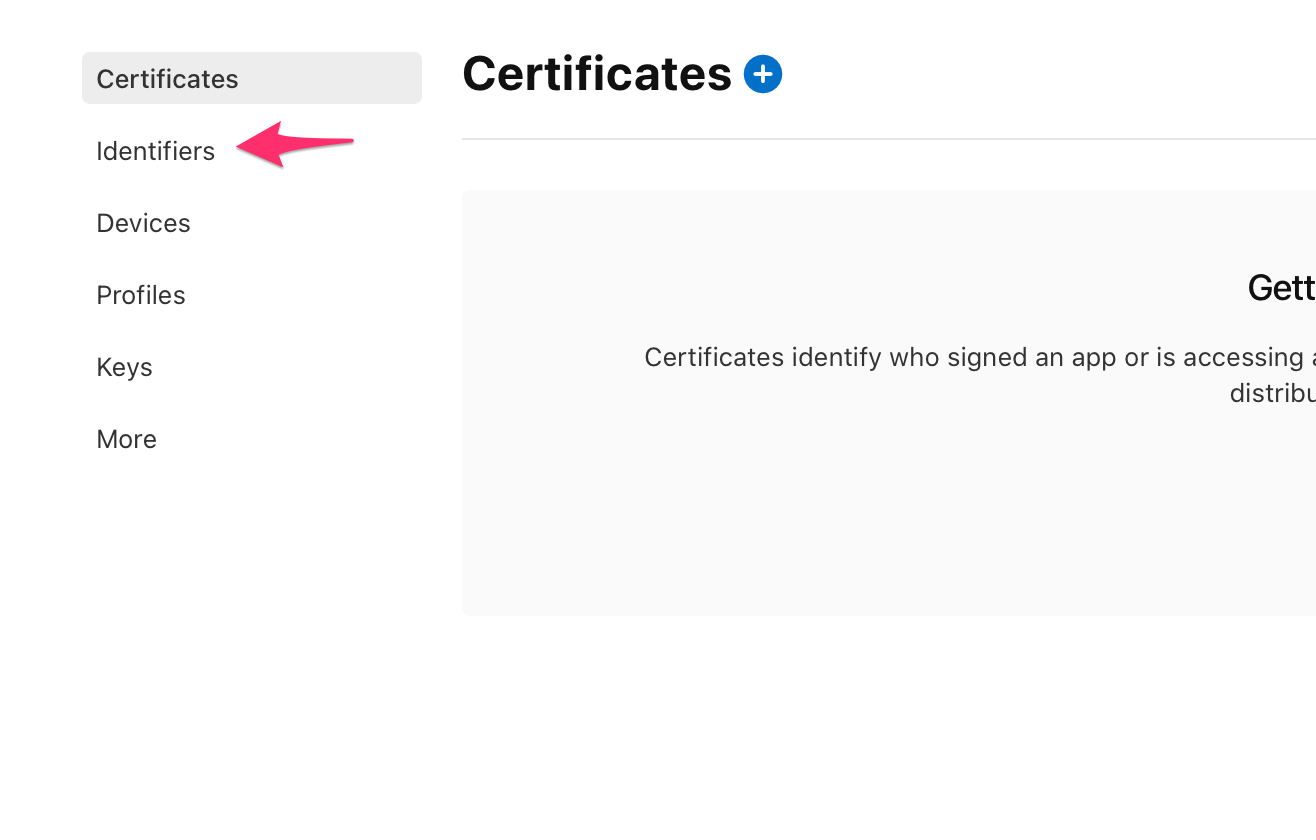
Click on the blue icon next to Identifiers, select App IDs, and click Continue.
Select the type as App and click Continue
Enter a description and bundle ID of your choice. Example for Bundle ID: com.companyname.appname
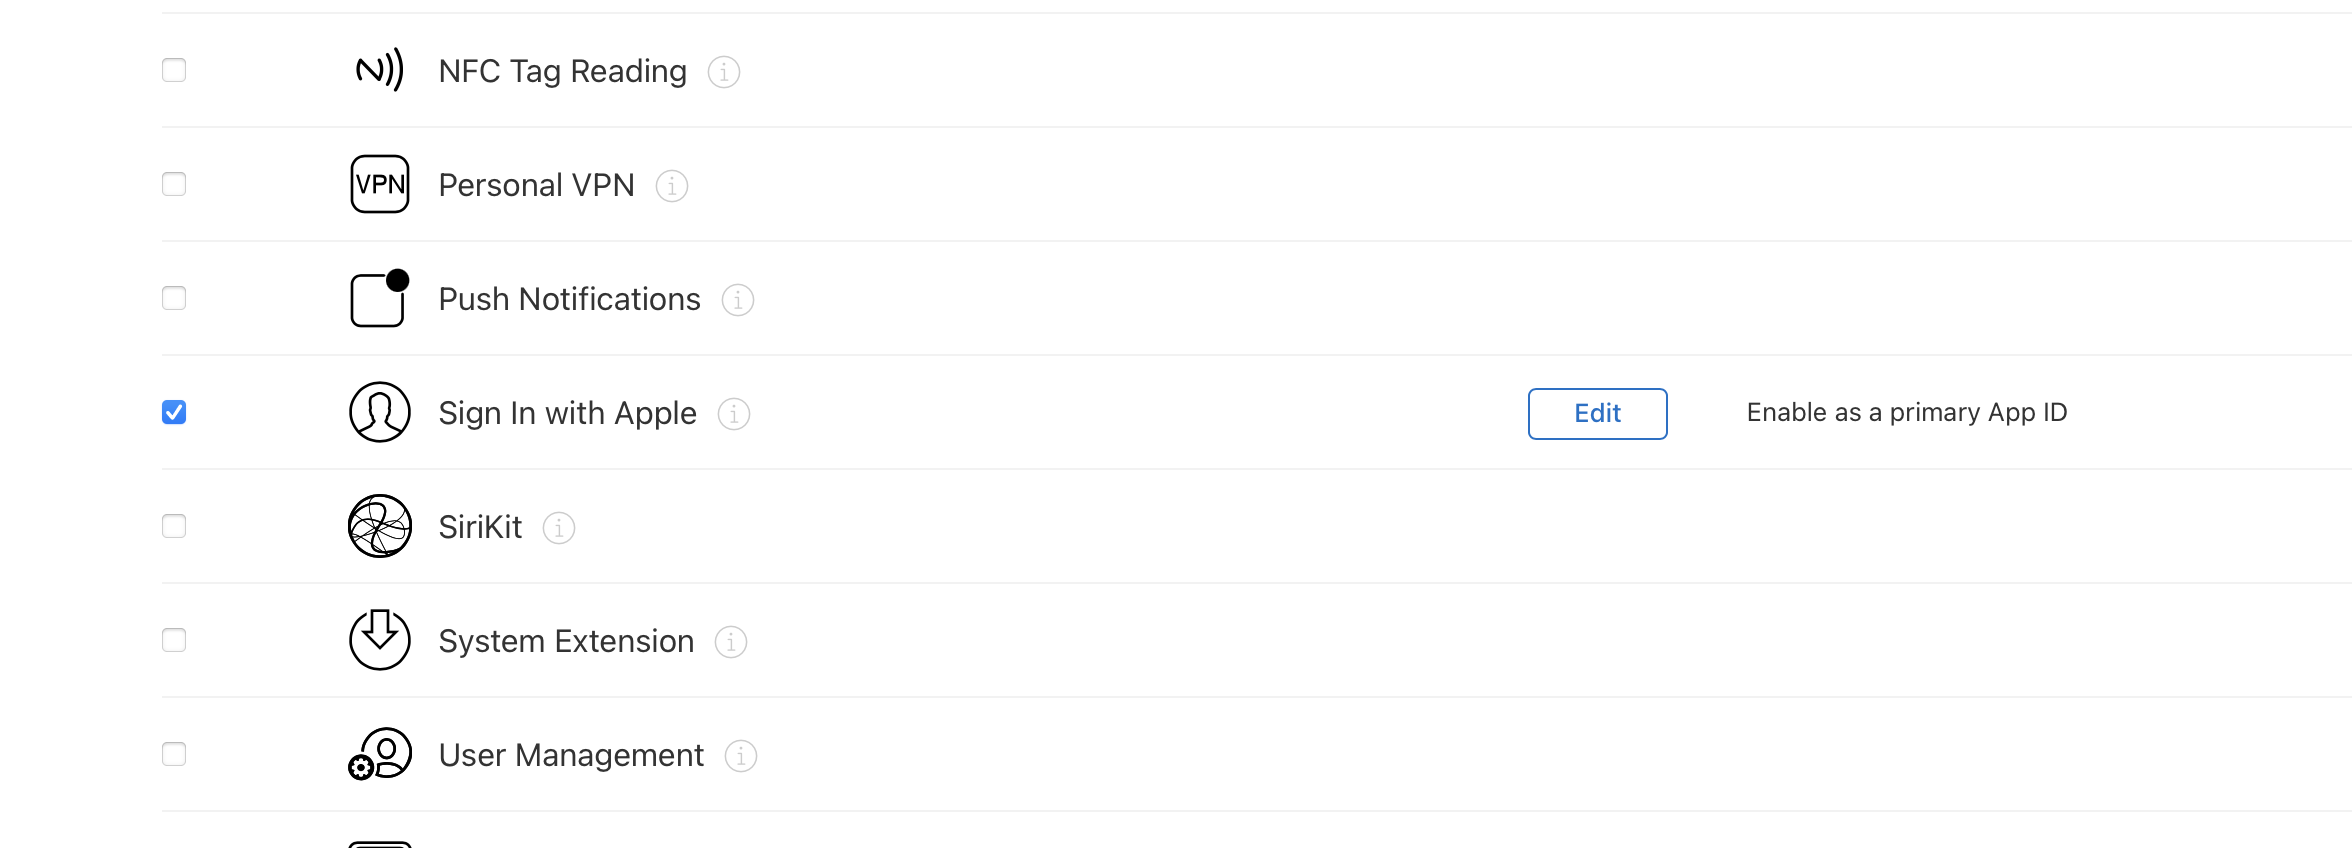
Scroll down the Capabilities section and select "Sign In with Apple."
Click on the Continue button on the top and then click on Register.
Now, go back to the Identifier page on Step 3 and click on the blue icon again. This time, select Services IDs and click Continue.
Enter a description and identifier of your choice. This identifier will be in a similar format as the Bundle ID from earlier. Make sure to save this identifier. This will be your Client ID for the application.
Click on Continue and then click on the Register button.
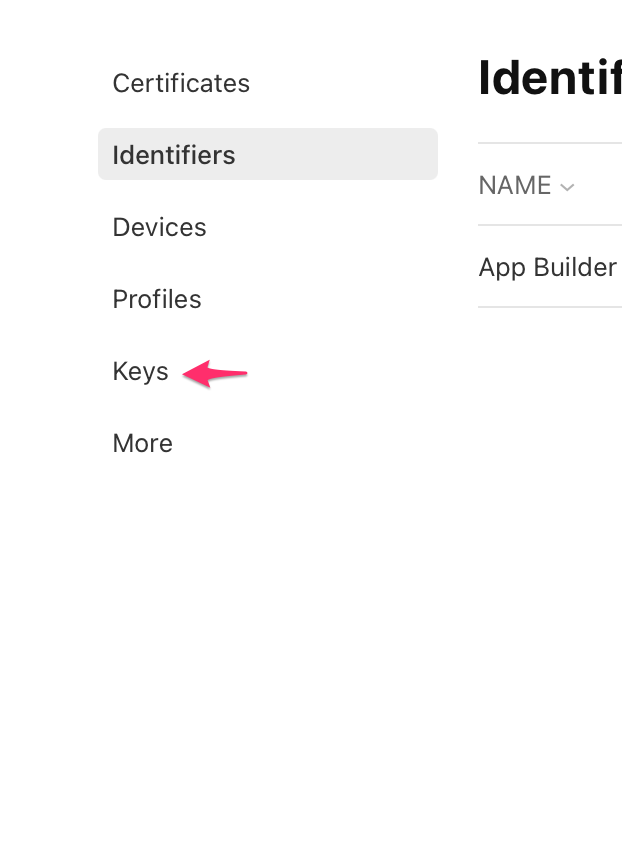
Go back to the Identifiers page. This time, on the left menu, click on Keys.
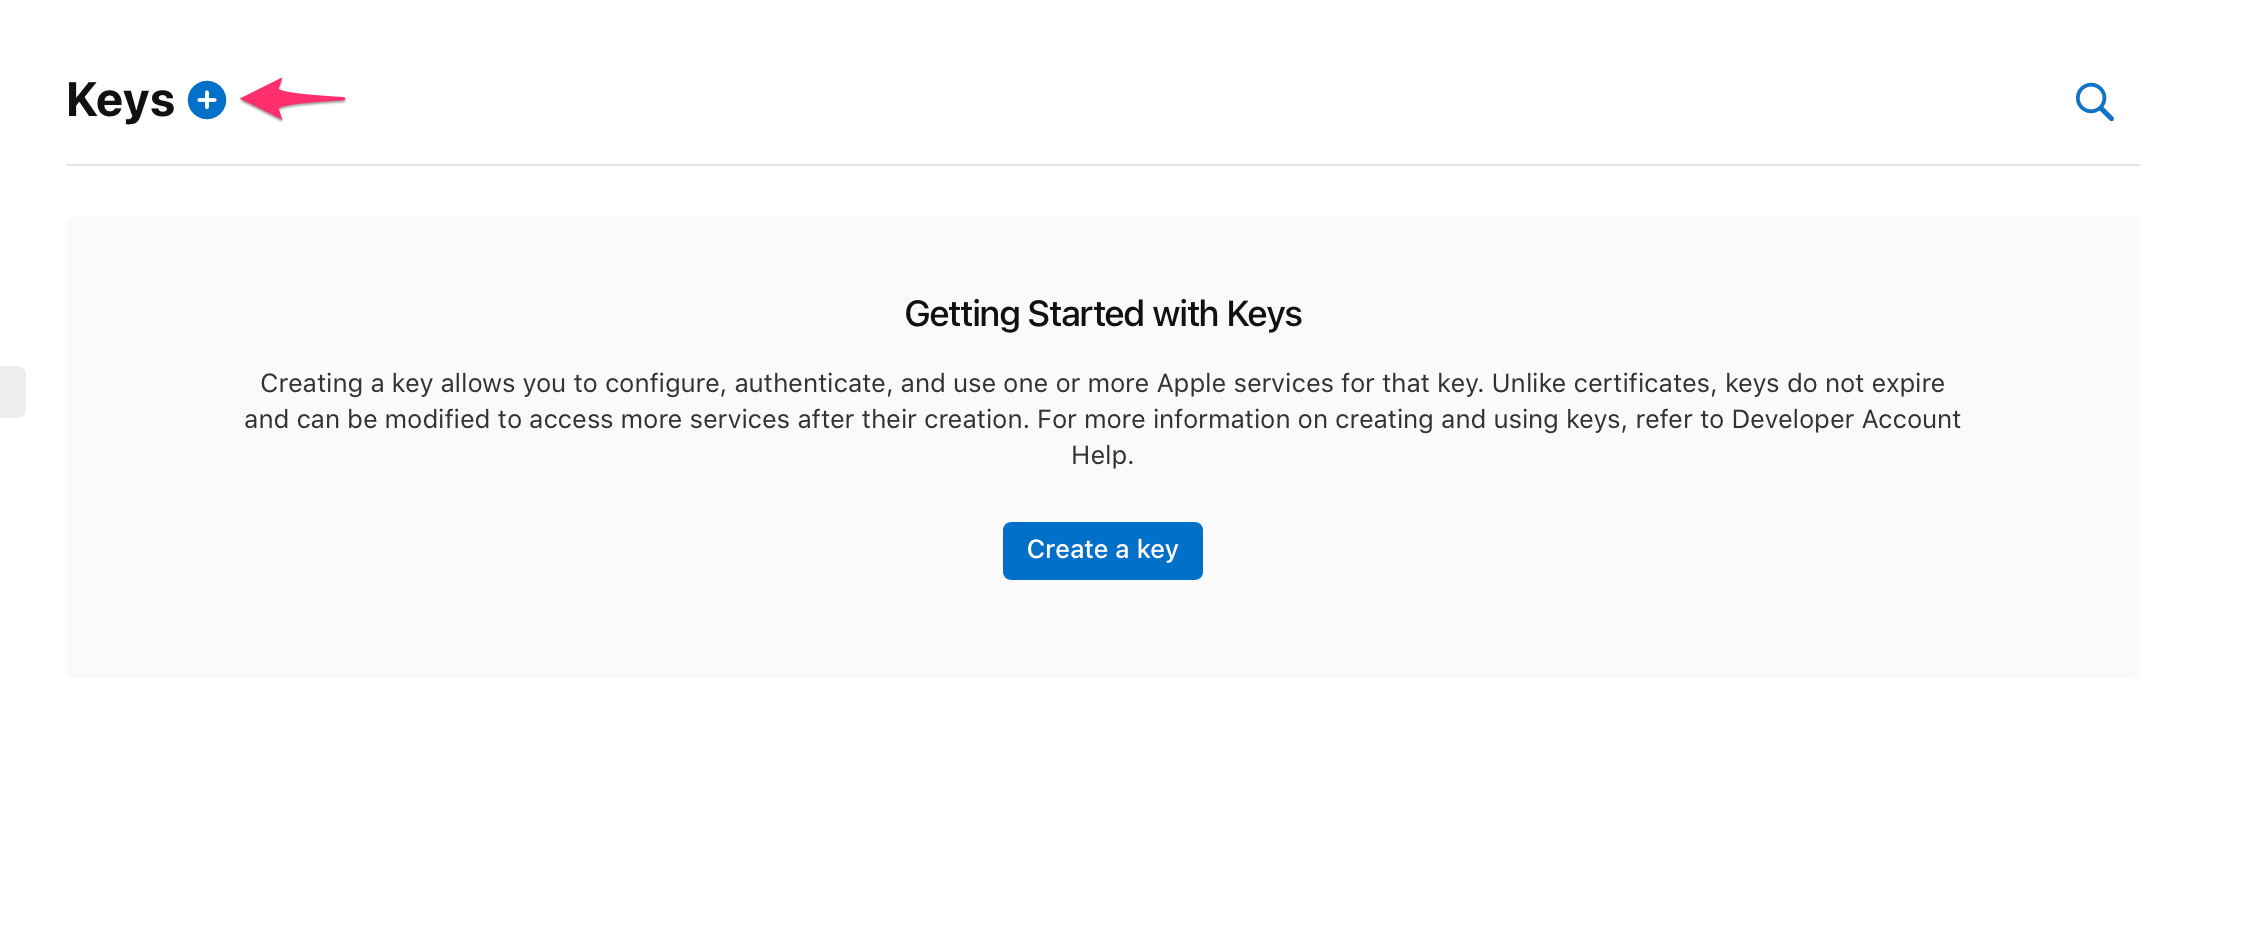
Click on the blue icon next to Keys.
Enter a Key Name of your choice.
Select "Sign in with Apple" and then click Configure

On the Configure Key page, select the App ID you created on Step 5 and set that as your primary key. Click on Save
You'll be taken back to the "Register a New Key" page. Click on Continue and then click on Register.
Make sure to copy the Key ID since you will need it later and then click Download (You can only do this once, so make sure it is stored safely)
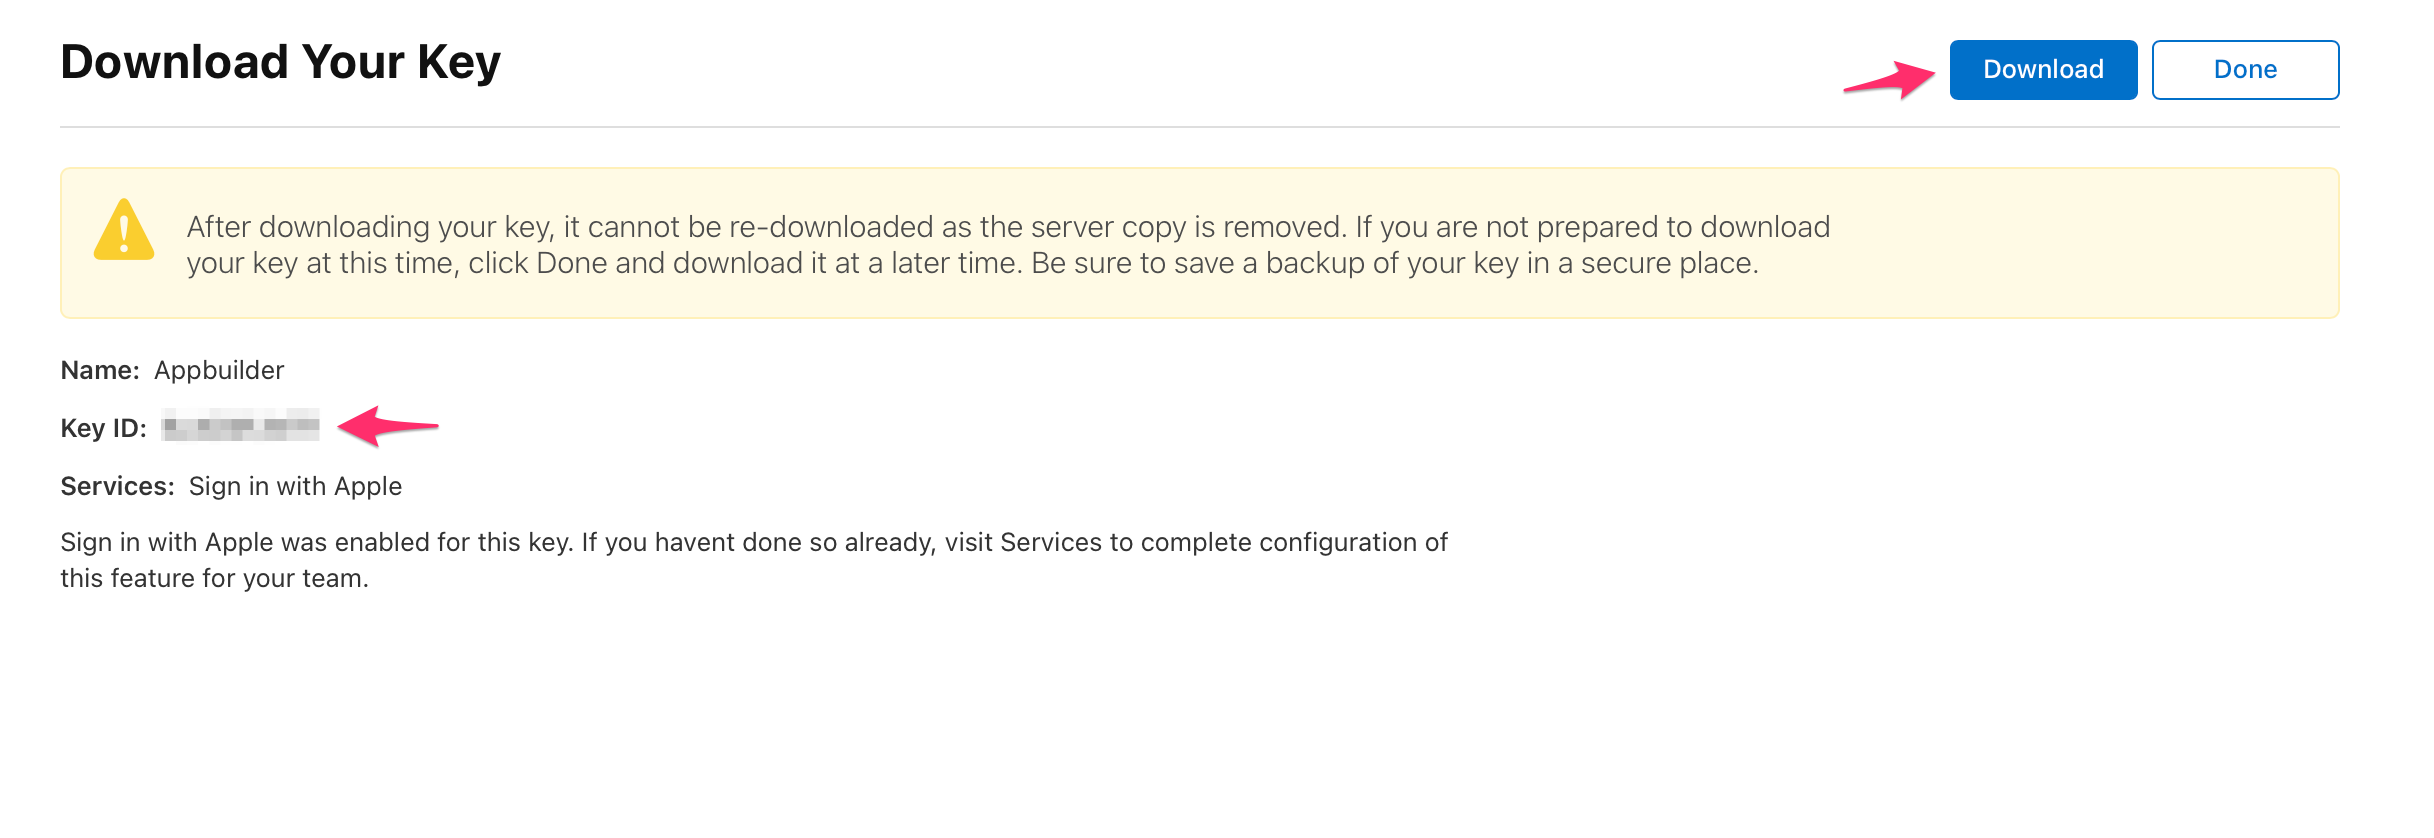
Click on Done
Finally, you will need your Team ID, which you can get from the top right corner of your portal. Copy everything following the hyphen as your Team ID.
You can now enter your details in the console.
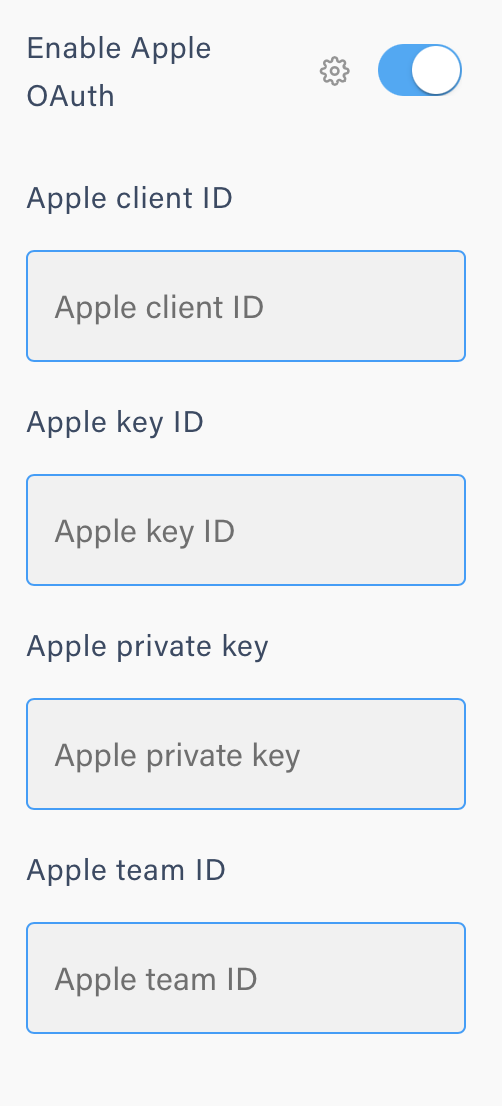
The Apple Client ID is the Client ID that you got in Step 9
The Apple Key ID is the Key ID that you got in Step 17
The Apple private key is the entirety of the file that you downloaded on Step 17. The file typically looks like
-----BEGIN PRIVATE KEY-----
private key contents
-----END PRIVATE KEY-----
Make sure to include the entirety of the file, including the ---BEGIN PRIVATE KEY--- and ---END PRIVATE KEY--- bits.
The Apple Team ID is the Team ID that you got in Step 19
If you opt for the manual deployment, then you need to add the following credentials:
Set ENABLE_APPLE_OAUTH to true
Set APPLE_CLIENT_ID to the client id you got above
Set APPLE_KEY_ID to the key id you got above
Set APPLE_PRIVATE_KEY to the private key you got above
Set APPLE_TEAM_ID to the team id you got above.